NL
support@arenti.com
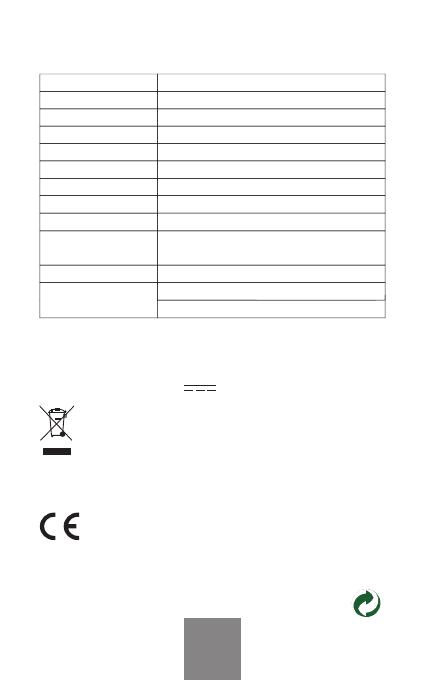
5. Specificatie
Ondersteuning
6. Wettelijke kennisgeving
www.arenti.com
Symbolen Direct current (DC)
Gooi geen batterijen of afgedankte producten bij
het huisvuil. De gevaarlijke stoffen die ze kunnen
bevatten, kunnen de gezondheid of het milieu
schaden. Laat uw winkelier deze producten terugne-
men of maak gebruik van de door uw gemeente
voorgestelde gescheiden afvalinzameling.
Hierbij verklaren wij dat het type radioapparatuur
'P2Q' in overeenstemming is met Richtlijn
2014/53/EU
De volledige test van de EU-conformiteitsverklaring
is beschikbaar op het volgende internetadres:
www.arenti.com
Productnaam
Oplossing
Kijkhoek
IR-afstand
Pannen/kantelen
Werktemp
Lokale opslag
Ingangsvermogen
Consumptie
Ondersteund
telefoonbesturingssysteem
2,4G wifi
5G wifi
P2Q
2560 x 1440
100°
Tot 10 meter
0°~355° (pannen); -15°~78° (kantelen)
-20°C tot 50°C
Micro SD-kaart (tot 256 GB)
Gelijkstroom 5V / 1A
Tot 4,5 W
iOS 9 / Android 5,0 en hoger versie
2412-2472 MHz (Max. vermogen<20dBm)
5150-5350 MHz (Max. vermogen <23dBm)
5470-5725 MHz (Max. vermogen <30dBm)


