?
!
EPSON is a registered trademark and EPSON Exceed Your Vision is a registered logomark of Seiko Epson Corporation.
Mac is a trademark of Apple Inc., registered in the U.S. and other countries. App Store is a service mark of Apple Inc.
Android and Google Play are trademarks of Google Inc.
General Notice: Other product names used herein are for identification purposes only and may be trademarks of their respective owners. Epson disclaims any and all rights in those marks.
This information is subject to change without notice.
EPSON est une marque déposée et EPSON Exceed Your Vision est un logotype déposé de Seiko Epson Corporation.
Mac est une marque de commerce d’Apple Inc., déposée aux États-Unis et dans d’autres pays. App Store est une marque de service d’Apple Inc.
Android et Google Play sont des marques de commerce de Google Inc.
Avis général : Les autres noms de produit figurant dans le présent document ne sont cités qu’à titre d’identification et peuvent être des marques de commerce de leurs propriétaires respectifs. Epson renonce à
tous les droits associés à ces marques.
L’information contenue dans le présent document peut être modifiée sans préavis.
© 2017 Epson America, Inc., 11/17 Printed in XXXXXX
CPD-40792R1 Pays d’impression : XXXXXX
Help • Aide
Scanner software help • Aide pour le logiciel du scanner
Click Help or the ? button on your scanner software screen.
Cliquez sur Aide ou sur le bouton ? sur l’écran du logiciel de numérisation.
User’s Guide • Guide de l’utilisateur
Double-click the Epson DS-40 User’s Guide icon on your desktop (or in the Applications/
Epson Software/Guide folder on a Mac).
Double-cliquez sur l’icône Guide Epson DS-40 sur le bureau de l’ordinateur (ou dans le
dossier Applications/Epson Software/Guide sur un Mac).
Epson technical support • Soutien technique Epson
Internet support
Visit www.epson.com/support/ds40 (U.S.) or www.epson.ca/support/ds40 (Canada)
where you can download drivers, view manuals, get FAQs, or e-mail Epson.
Speak to a support representative
(562) 276-4382 (U.S.) or (905) 709-3839 (Canada), 6 AM to 8 PM, Pacific Time, Monday through
Friday, and 7 AM to 4 PM Saturday.
Days and hours of support are subject to change without prior notice. Toll or long distance
charges may apply.
Mobile devices • Appareils mobiles
To scan to an iOS or Android™ device, download and install the free Epson
DocumentScan app from the App Store or Google Play™.
Pour numériser vers un appareil iOS ou Android
MC
, téléchargez et installez l’application
gratuite Epson DocumentScan à partir de l’App Store ou Google Play
MC
.
Installation troubleshooting • Dépannage
pour l’installation
If the scanner was unable to automatically set up a wireless connection, see your online User’s
Guide for instructions on setting up the connection manually.
Si le scanner n’a pu établir automatiquement une connexion sans fil, consultez le Guide de
l’utilisateur en ligne afin d’obtenir les instructions pour configurer manuellement la connexion.
Soutien Internet
Visitez le site Web www.epson.ca/support/ds40 afin de télécharger des pilotes, consulter des
manuels et des FAQ ou envoyer un courriel à Epson.
Parler à un représentant du soutien technique
Composez le 905 709-3839, de 6 h à 20 h, heure du Pacifique, du lundi au vendredi, et de 7 h à 16 h,
heure du Pacifique, le samedi.
Les heures et les jours de soutien peuvent être sujets à changement sans préavis. Des frais
d’interurbain sont éventuellement à prévoir.
2
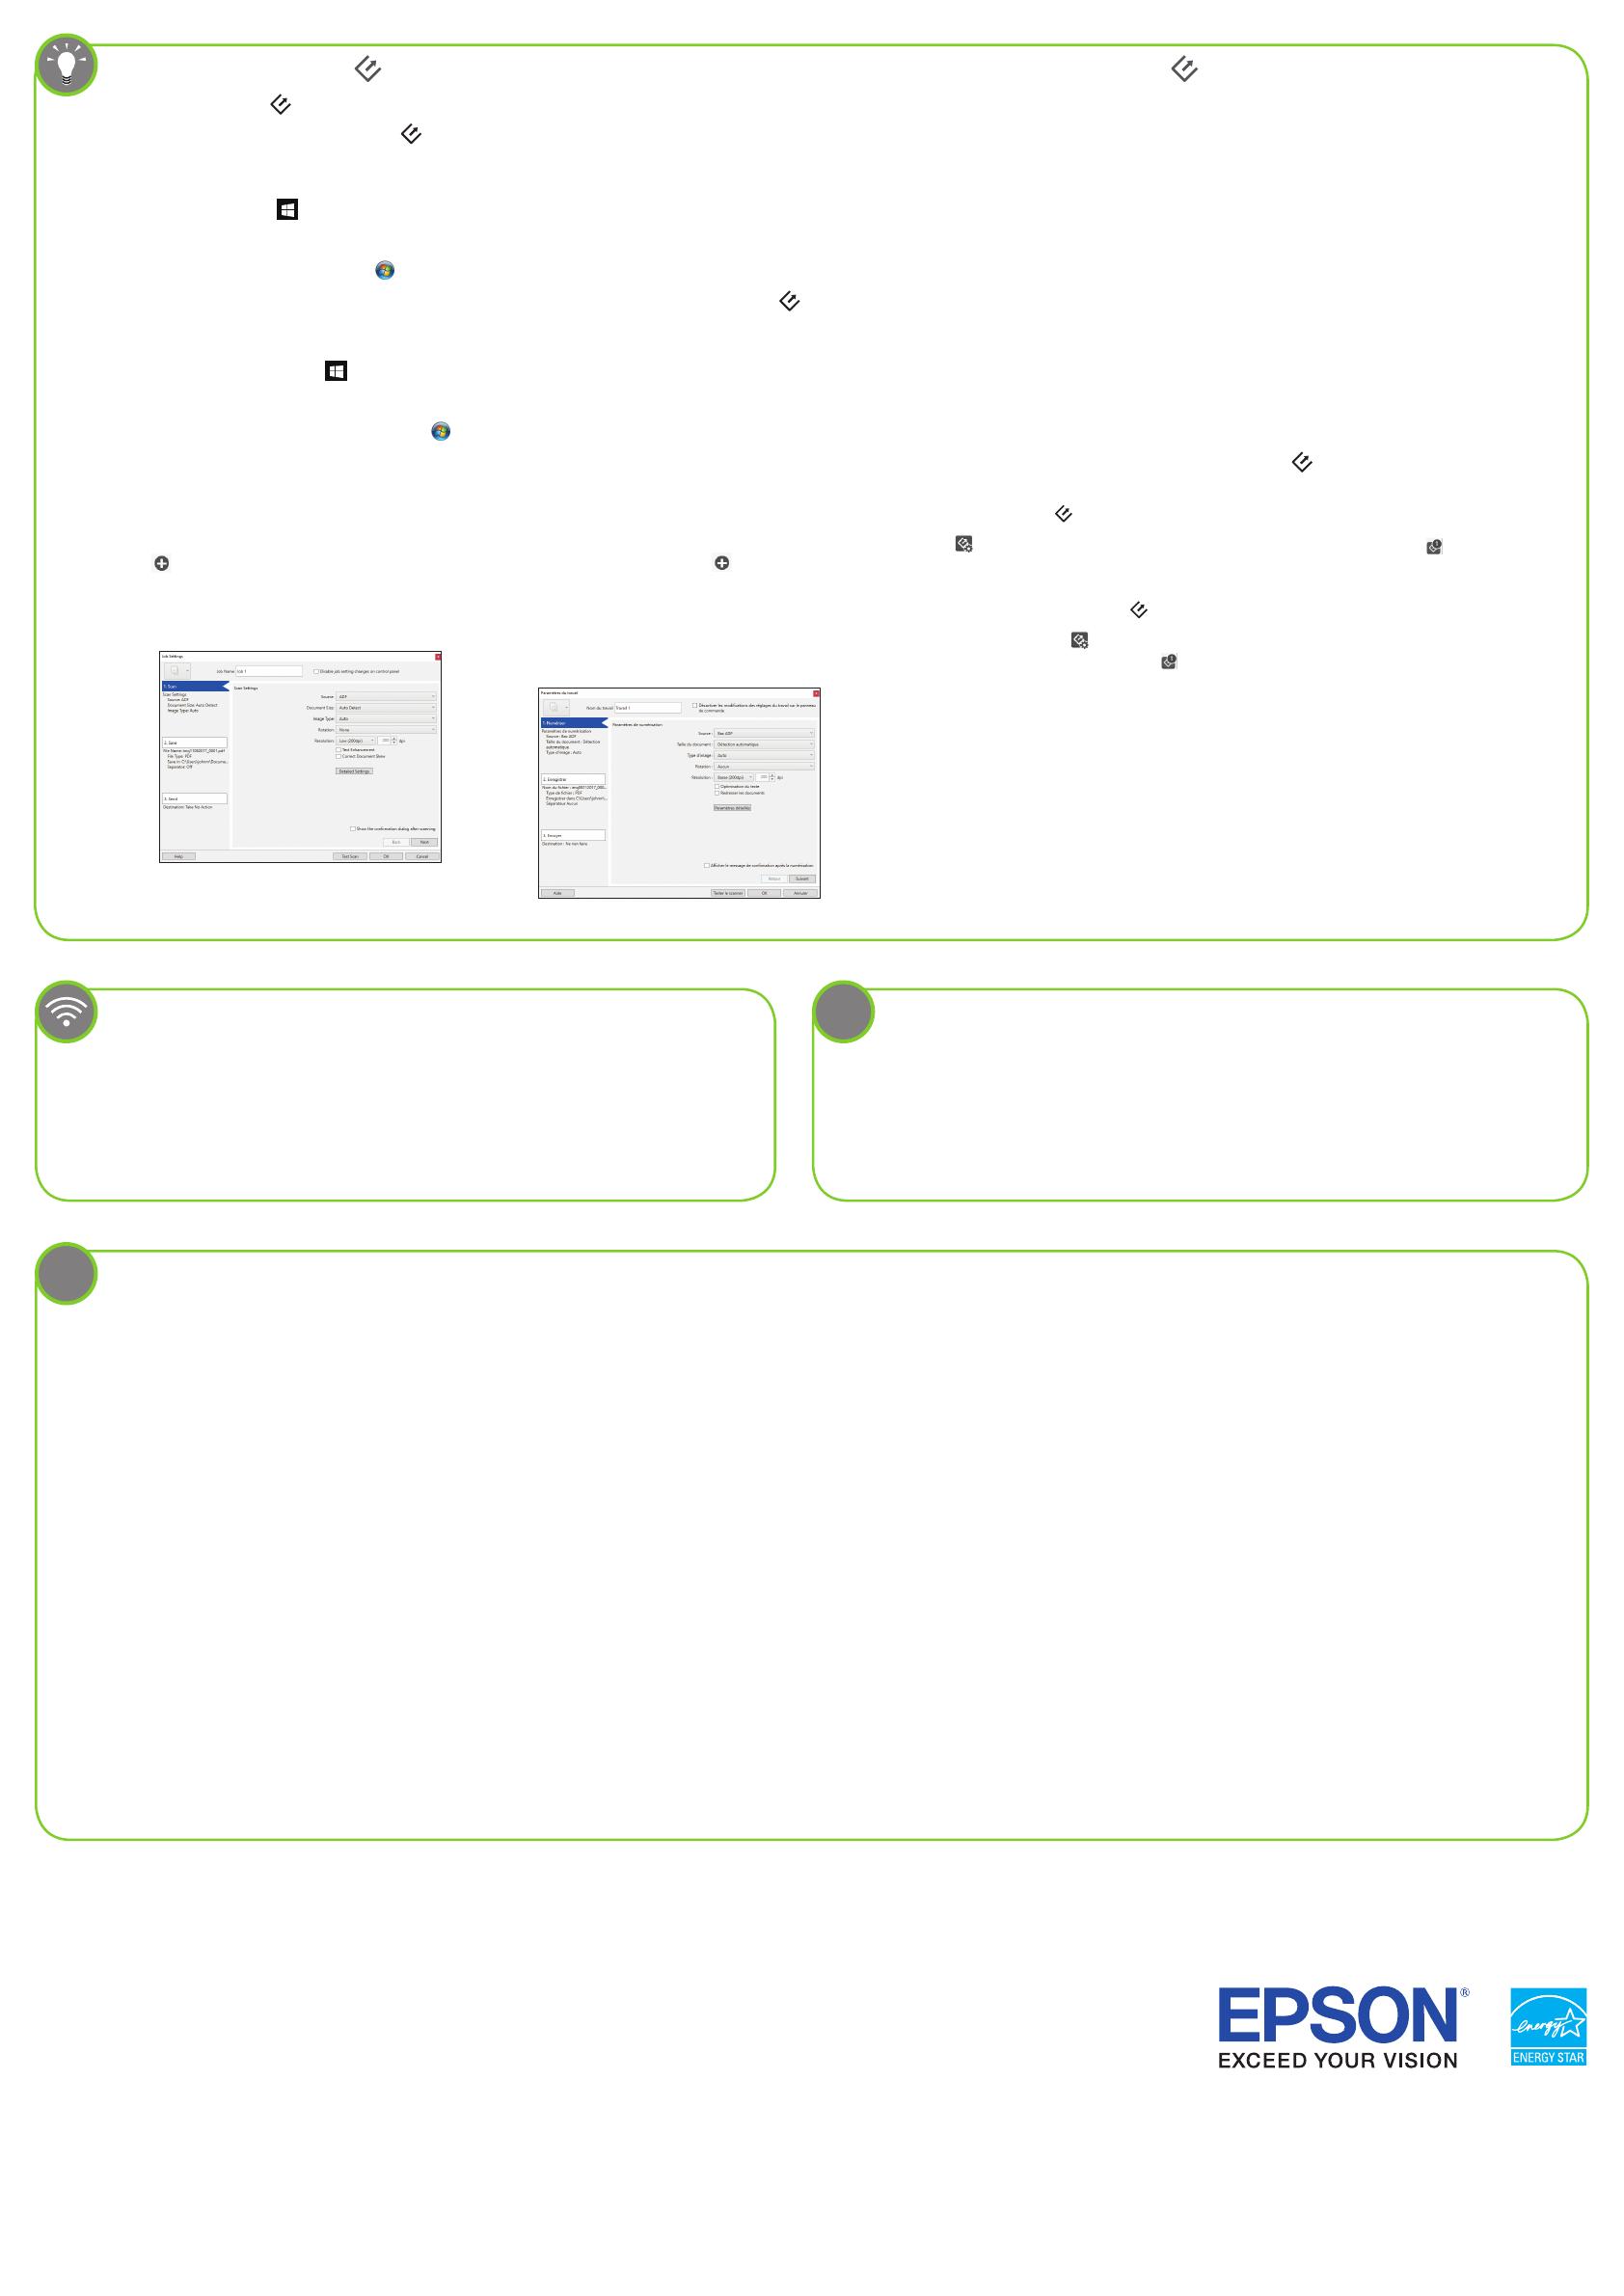
Create a new job.
Click the Job Settings button, then click
New Job in the job management window.
Specify desired Job Settings, such as image
quality and destination, then click OK.
Repeat this process to create additional jobs.
Créez un nouveau travail de numérisation.
Cliquez sur le bouton Paramètres de
travaux, puis cliquez sur Nouveau dans la
fenêtre de gestion des travaux. Choisissez les
paramètres de travaux, comme la destination
et la qualité de l’image, puis cliquez sur OK.
Répétez cette étape pour créer des travaux
supplémentaires.
Customizing the start button (Windows) • Personnalisation du bouton de démarrage (Windows)
You can scan from the start button using custom job settings. See the online User’s Guide for more information.
Vous pouvez numériser depuis le bouton de démarrage en utilisant les paramètres de travaux personnalisés. Consultez le Guide de l’utilisateur en ligne pour obtenir plus d’informations.
1
Start Document Capture Pro.
Windows 10: Click > All apps > Epson Software > Document Capture Pro.
Windows 8.x: Navigate to the Apps screen and select Document Capture Pro.
Windows (other versions): Click or Start > All Programs or Programs > Epson Software > Document Capture Pro.
Note: Mac users, see the online User’s Guide for more information about customizing the start button.
Lancez Document Capture Pro.
Windows 10 : Cliquez sur > Toutes les applications > Epson Software > Document Capture Pro.
Windows 8.x : Naviguez vers l’écran Applications et sélectionnez Document Capture Pro.
Windows (autres versions) : Cliquez sur ou Démarrer > Tous les programmes ou Programmes > Epson Software > Document Capture Pro.
Remarque : Les utilisateurs de Mac doivent consulter le Guide de l’utilisateur en ligne pour obtenir plus d’informations concernant la personnalisation du bouton de démarrage.
3
Assign a job to the start button.
Click Button Assignment in the job management window. Click the job 1 field
and select the job you want to assign, then click OK. Close the job management
window.
Attribuez un travail au bouton de démarrage.
Cliquez sur le bouton Paramètres d’évènements dans la fenêtre de gestion
des travaux. Cliquez sur le champ de travail 1 et sélectionnez le travail que vous
souhaitez attribuer, puis cliquez sur OK. Fermez la fenêtre de gestion des travaux.

