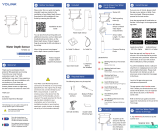
3. Before mounting or hanging the
sensor on the wall or vertical surface,
determine your desired method:
Hang the sensor from a nail or
screw or small hook
Hang or mount the sensor by other
methods, such as 3M brand
Command hooks
Secure the sensor to the wall using
mounting tape, Velcro or similar
methods. If affixing something to
the rear of the sensor, be aware of
the impact of covering the SET
button or LED, and allow for battery
replacement in the future.
4. Mount or hang the sensor on the wall
or vertical surface using your desired
method. (Insert a screw into the wall,
hammer a nail into the wall, etc.)
5. Allow your sensor at least one hour to
stabilize and report the correct
temperature and humidity to the app.
Refer to the full installation & user guide
for instructions on calibrating your
sensor, if it does not appear to indicate
the correct temperature and/or humidity.
Refer to the full Installation & User
Guide, to complete the setup of your
Temperature & Humidity Sensor.
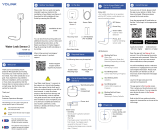
Open the app and tap Sign up for an
account. You will be required to provide
a username and a password. Follow the
instructions, to set up a new account.
Allow notifications, when prompted.
You will immediately receive a welcome
email from no-reply@yosmart.com with
some helpful information. Please mark
the yosmart.com domain as safe, to
ensure you receive important messages
in the future.
Log in to the app using your new
username and password.
The app opens to the Favorite screen.
This is where your favorite devices and
scenes will be shown. You can organize
your devices by room, in the Rooms
screen, later.
Refer to the full user guide and online
support for instructions on the use of the
YoLink app.
Install the App, Cont.
G
Environment Considerations:
Determine an appropriate location for
your sensor.
Please note: the Temperature & Humidity
Sensor is intended for indoor use, at dry
locations. Refer to the product support
page for the full environmental
specifications.
Consider our Weatherproof
Temperature & Humidity Sensor for
outdoor locations.
If you plan to use this sensor in a
freezer, ensure the sensor does not
get wet during defrosting cycles.
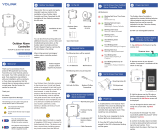
Scan the appropriate QR code below or
find the “YoLink app” on the appropriate
app store.
Apple phone/tablet
iOS 9.0 or higher
Android phone/
tablet 4.4 or higher
2. Approve access to your phone’s
camera, if requested. A viewfinder will be
shown on the app.
3. Hold the phone over the QR code so
that the code appears in the viewfinder.
If successful, the Add Device screen will
be displayed.
4. You can change the device name and
assign it to a room later. Tap Bind
device.
Add the Sensor to the
App
H
Add the Sensor to the
App, Continued
H
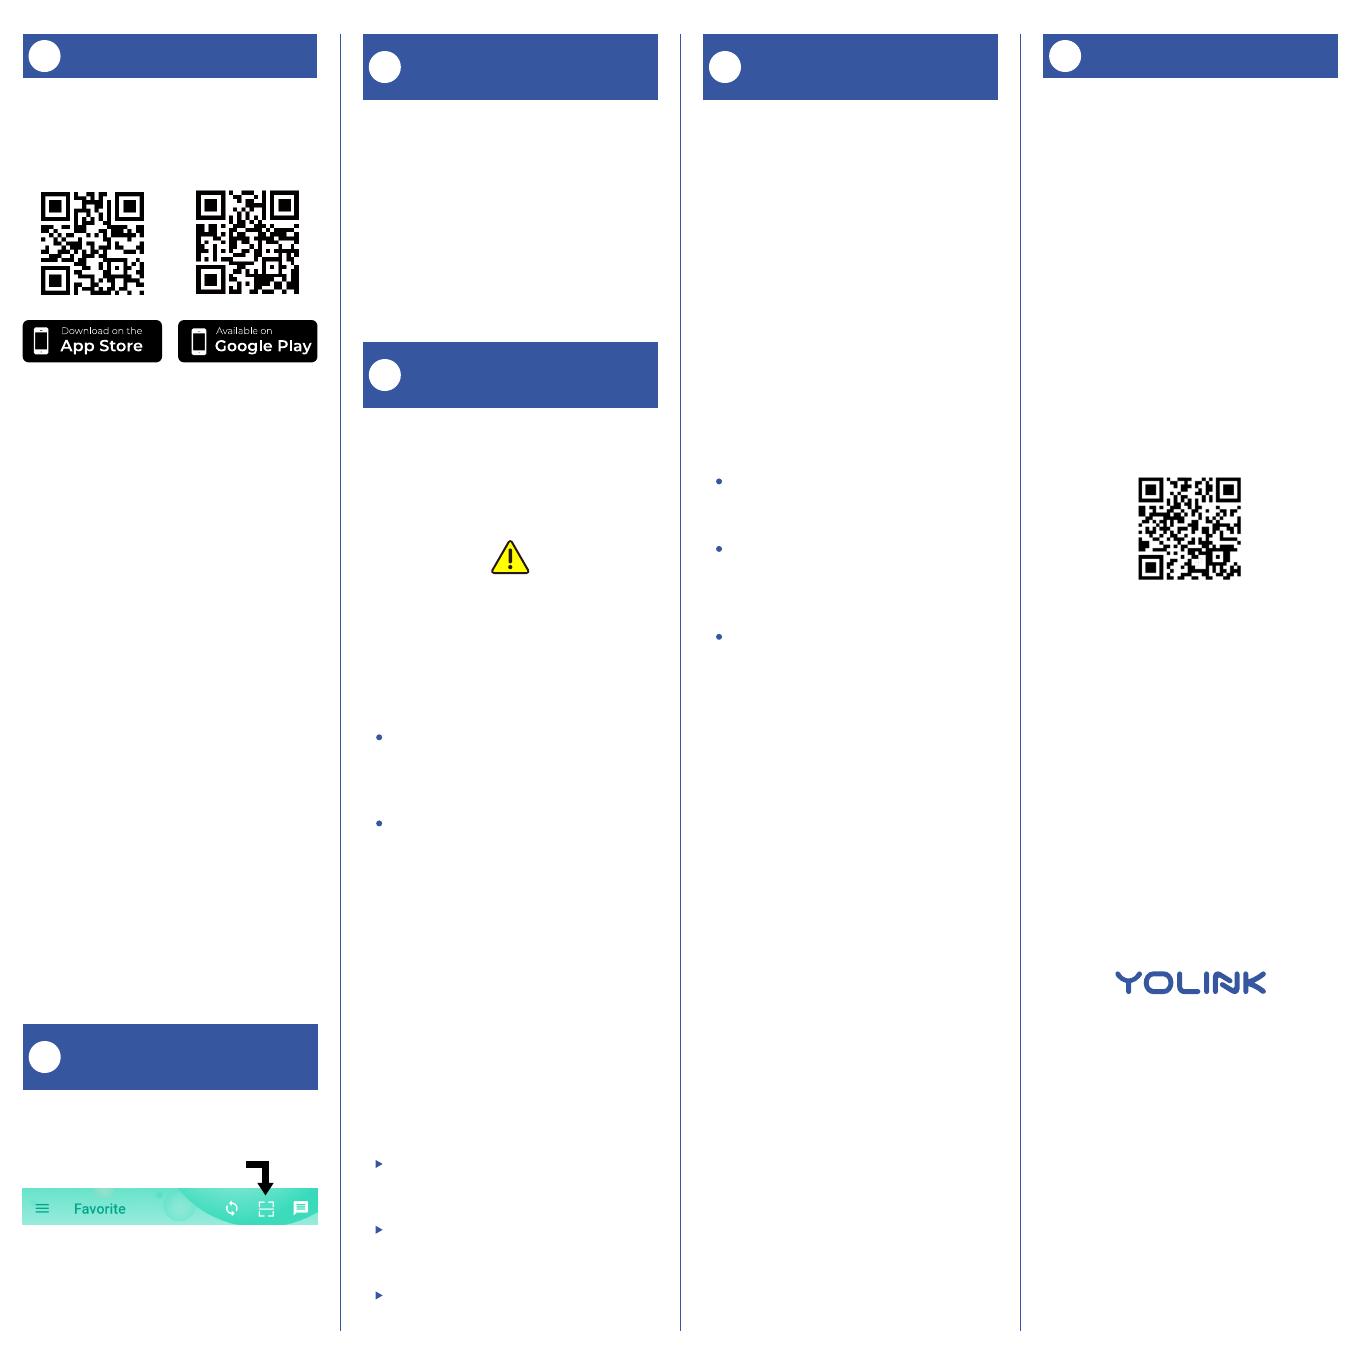
1. Tap Add Device (if shown) or tap the
scanner icon:
Scanner icon
Install the Temperature
& Humidity Sensor
I
Install the Temperature
& Humidity Sensor, Cont.
I
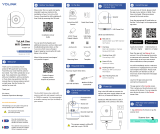
1. Before installing or placing your
sensor, ensure the display mode is
correct for your application. To switch
between Celsius and Fahrenheit display
mode, briefly press the SET button (on
the rear of the sensor).
2. If placing the sensor on a shelf or
countertop or other stable service, place
the sensor where desired, then proceed
to the next section.
Location Considerations:
If placing the sensor on a shelf or
countertop, ensure it is a stable surface.
If hanging or mounting the sensor on a
wall, ensure the mounting method is
secure, and the location does not subject
the sensor to physical damage. The
warranty does not cover physical
damage.
Do not place the sensor where it
may get wet
Do not place the sensor where it will
be subjected to direct sunlight
Avoid placing the sensor near HVAC
grilles or diffusers
Contact Us
J
We are here for you, if you ever need any
assistance installing, setting up or using
a YoLink app or product!
Need help? For fastest service, please
email us 24/7 at service@yosmart.com
Or call us at 831-292-4831 (US phone
support hours: Monday - Friday, 9AM to
5PM Pacific)
You can also find additional support and
ways to contact us at:
www.yosmart.com/support-and-service
Or scan the QR code:
Finally, if you have any feedback or
suggestions for us, please email us at
feedback@yosmart.com
Thank you for trusting YoLink!
Eric Vanzo
Customer Experience Manager
Support
Home Page
15375 Barranca Parkway
Ste. J-107 | Irvine, California 92618
© 2023 YOSMART, INC IRVINE,
CALIFORNIA