SmartStart
This Z-Wave™ controller supports
SmartStart inclusion. SmartStart enabled
products can be added into a Z-Wave™
network by scanning the Z-Wave™ QR Code
present on the product with a controller
providing SmartStart inclusion. No further
action is required and the SmartStart
product will be added automatically within
10 minutes of being switched on in the
network vicinity.
This product should be installed indoors
only upon completion of any building
renovations. Do NOT install outdoors.
Do NOT mount more than 6 feet from the
ground.
Prior to installation, the device should be
stored in a dry, dust-and-mold-proof place.
Do not install the device in a place with
direct sun exposure, high temperature, or
humidity.
Do NOT cover or place any objects on the
device.
Do NOT mount the device on metal surfaces
or inside of metal cabinets to ensure
optimal radio performance.
Do NOT connect USB cables longer than 10
feet.
Keep away from chemicals, water, and dust.
Ensure the device is never close to any heat
source or open flame to prevent fire.
No part of the device may be replaced or
repaired by the user.
FCC & IC STATEMENT
THE MANUFACTURER IS NOT RESPONSIBLE FOR ANY
RADIO OR TV INTERFERENCE CAUSED BY
UNAUTHORIZED MODIFICATIONS TO THIS
EQUIPMENT. SUCH MODIFICATIONS COULD VOID THE
USER’S AUTHORITY TO OPERATE THE EQUIPMENT.
STORE INDOORS WHEN NOT IN USE. SUITABLE FOR
DRY LOCATIONS ONLY. DO NOT IMMERSE IN WATER.
NOT FOR USE WHERE DIRECTLY EXPOSED TO WATER.
This device complies with Part 15 of the FCC Rules
and Industry Canada license exempt RSS standards.
Operation is subject to the following conditions:
1. This device may not cause harmful interference,
2. This device must accept any interference received,
including interference that may cause undesired
operation.
This equipment has been tested and found to comply
with the limits for a Class B digital device, pursuant to
part 15 of the FCC and Canadian ICES-003 rules.
These limits are designed to provide reasonable
protection against harmful interference in a
residential installation.
This equipment generates, uses and can radiate radio
frequency energy and, if not installed and used
according to instructions, may cause harmful
interference to radio communications.
However, there is no guarantee that interference will
not occur in any given installation.
If this equipment causes harmful interference to radio
or television reception, the user may try to correct the
interference by taking one or more of the following
measures:
- Reorient or relocate receiving antenna
- Increase the separation between equipment and
receiver
- Connect equipment into a separate outlet or circuit
from receiver
- Consult the dealer or an experienced radio/TV
technician for additional assistance
DÉCLARATION FCC ET IC
Cet appareil est conforme au paragraphe 15 des
normes FCC et au CNR pour les appareils exempts de
licence d’Industrie Canada. Son utilisation est sujette
aux deux conditions suivantes (1) cet appareil ne doit
pas occasionner de brouillage préjudiciable et (2) cet
appareil doit accepter toutes les interférences reçues,
notamment les interférences qui peuvent provoquer
un fonctionnement non désiré.
Le fabricant n’est pas responsable des interférences
sur les fréquences radioélectriques ou télévisuelles
pouvant être causées par des modifications non
autorisées de ce matériel. De telles modifications
peuvent annuler le droit de l’utilisateur à utiliser cet
appareil.
REMARQUE: Cet appareil a été testé et certifié
conforme aux limites relatives aux appareils
numériques de catégorie B définies dans le
paragraphe 15 des normes FCC et au CNR pour les
appareils exempts de licence d’Industrie Canada. Ces
limites ont été définies afin de fournir une protection
raisonnable contre le brouillage préjudiciable en
milieu résidentiel. Cet appareil produit, utilise et peut
émettre des ondes de fréquence radio et, s’il n’est pas
installé et utilisé conformément aux instructions, il
peut provoquer un brouillage préjudiciable aux
communications radio. Il n’existe toutefois aucune
garantie que des interférences ne se produiront pas
au sein d’une installation donnée. Si cet appareil
occasionne un brouillage préjudiciable à la réception
radiophonique ou télévisuelle, il suffit d’allumer et
d’éteindre l’appareil pour déterminer sa
responsabilité. Nous encourageons l’utilisateur à
essayer de corriger ces interférences en appliquant
une ou plusieurs des mesures suivantes:
- Réorienter ou déplacer l’antenne de réception.
- Augmenter la distance entre l’appareil et le
récepteur.
- Brancher l’appareil à une prise secteur différente de
celle du récepteur.
- Consulter le revendeur ou un technicien spécialisé
en postes radio ou téléviseurs.
All brand names displayed are trademarks of
their respective holders.
© Zooz 2022
© Z-Box Hub 2022
You’re able to add Z-Wave™ devices and
create very basic routines using the mobile
app but you get full access to the
automation engine and device
management from the online interface in
your browser.
We keep updating the soware to add new
features and improve navigation so we
store all of our user guides online. This way
we can keep them up to date and make it
easier for you to get the answers you need.
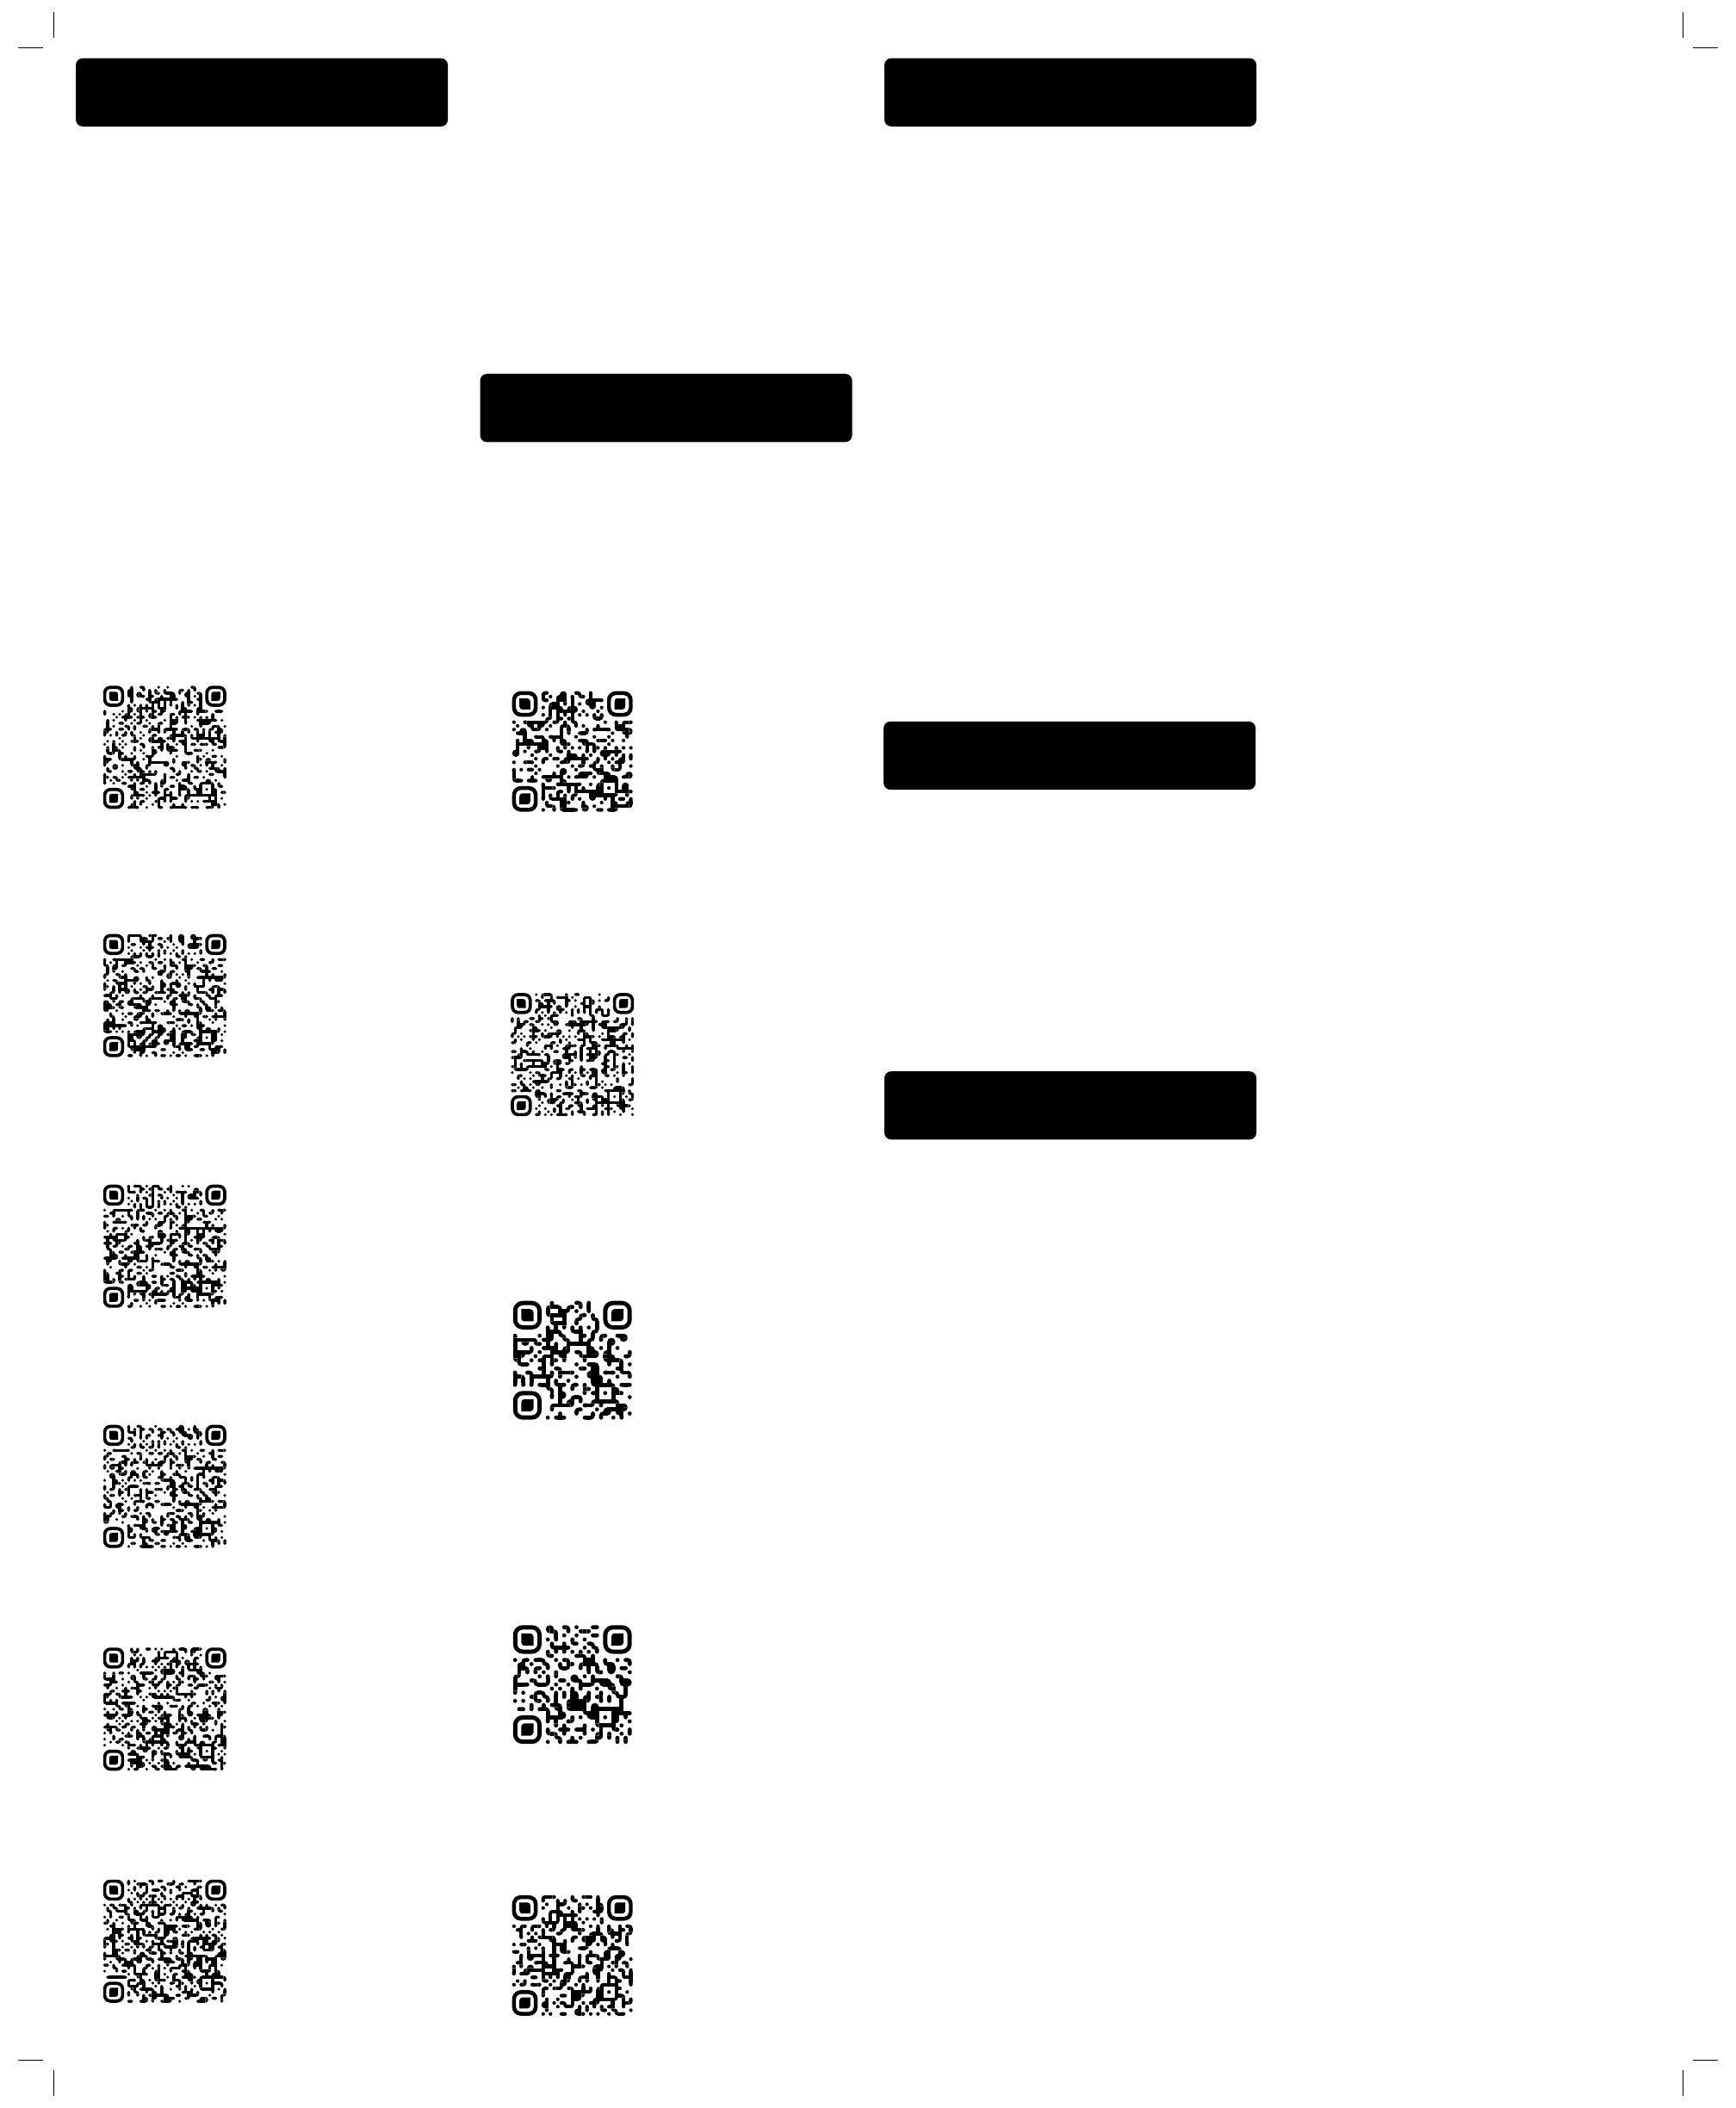
Please scan any of the below QR codes with
your phone’s camera and click the link to
access the articles and tutorials of your
choice.
Not finding what you’re looking for? Get in
touch: ask@zboxhub.com
Add devices
Organize devices
Troubleshoot devices
Create automations
Connect smart speaker
Advanced settings
AUTOMATE
SUPPORT
Our US based support team is here to
answer your questions and help you find
the right resources 7 days a week.
Knowledge Base
Go to www.support.getzooz.com or scan
the QR code below to search for a solution
in our extensive platform documentation.
FAQ
Browse our frequently asked questions
section and get quick answers to the most
common inquiries.
Community
Join the Friends of Z-Box forum to discuss,
exchange ideas, and share solutions with
other platform users.
Email
We reply to emails 7 days a week, including
Holidays. You’ll get quick personalized
replies from a friendly Z-Wave™ expert.
Phone
Scan the QR code below to schedule an
appointment with one of our agents.
Available Monday - Friday.
ask@zboxhub.com
SAFETY WARNING
MODEL NUMBER: ZZB97
Z-WAVE™ CHIP: 700 Series
Z-WAVE™ FREQUENCY: 908.42 MHZ
Wi-Fi: 802.11 b/g/n
POWER SUPPLY: 5 V DC, 1 A (included)
POWER CONNECTION: USB Micro B
OPERATING TEMPERATURE: 32⁰ - 104⁰ F
OPERATING HUMIDITY: up to 75%
DIMENSIONS: 7” x 4.3” x 1.2”
INSTALLATION AND USE: indoor only
SPECIFICATIONS
WARRANTY
This product is covered under a 1-year limited
warranty with extended 5-year warranty once
it’s registered. To read the full warranty policy
or file a warranty claim, please go to
ww.zboxhub.com/warranty
IN NO EVENT SHALL ZOOZ OR ITS
SUBSIDIARIES AND AFFILIATES BE LIABLE
FOR ANY INDIRECT, INCIDENTAL, PUNITIVE,
SPECIAL, OR CONSEQUENTIAL DAMAGES, OR
DAMAGES FOR LOSS OF PROFITS, REVENUE,
OR USE INCURRED BY CUSTOMER OR ANY
THIRD PARTY, WHETHER IN AN ACTION IN
CONTRACT, OR OTHERWISE EVEN IF ADVISED
OF THE POSSIBILITY OF SUCH DA-MAGES.
ZOOZ'S LIABILITY AND CUSTOMER'S
EXCLUSIVE REMEDY FOR ANY CAUSE OF
ACTION ARISING IN CON-NECTION WITH THIS
AGREEMENT OR THE SALE OR USE OF THE
PRODUCTS, WHETHER BASED ON
NEGLIGENCE, STRICT LIABILITY, BREACH OF
WARRANTY, BREACH OF AGREEMENT, OR
EQUITABLE PRINCIPLES, IS EXPRESSLY
LIMITED TO, AT ZOOZ'S OPTION,
REPLACEMENT OF, OR REPAYMENT OF THE
PURCHASE PRICE FOR THAT POR-TION OF
PRODUCTS WITH RESPECT TO WHICH DA-
MAGES ARE CLAIMED. ALL CLAIMS OF ANY
KIND ARISING IN CONNECTION WITH THIS
AGREEMENT OR THE SALE OR USE OF
PRODUCTS SHALL BE DEEMED WAIVED
UNLESS MADE IN WRITING WITHIN THIRTY
(30) DAYS FROM ZOOZ'S DELIVERY, OR THE
DATE FIXED FOR DELIVERY IN THE EVENT OF
NONDELIVERY.


