Motorola PMPN4603 Manuel utilisateur

Taper
Manuel utilisateur
Curve Series Charger
User Manual
*MN007877A01*
MN007877A01-AB
SEPTEMBER 2021
© 2021 Motorola Solutions, Inc. All rights reserved
en-US fr-CA
Contents
Disclaimer.................................................................................................................... 3
Intellectual Property and Regulatory Notices.......................................................... 4
Class B Digital Device................................................................................................ 5
Icon Conventions........................................................................................................ 6
Important Safety Instructions.................................................................................... 7
Operational Safety Guidelines................................................................................... 8
Warranty.......................................................................................................................9
Chapter 1: Product Overview.................................................................................10
Chapter 2: Authorized Accessories...................................................................... 11
Chapter 3: Curve SUC Operating Instructions .................................................... 12
3.1 Charging Procedure...............................................................................................................12
3.2 Charging a Stand-Alone Battery............................................................................................13
Chapter 4: Curve 6-Pocket MUC Kit Operating Instructions...............................14
4.1 Charging Procedure for Multi-Unit Charger........................................................................... 14
4.2 Cloning Radio Settings.......................................................................................................... 16
4.3 Mounting Curve 6-Pocket Multi-Unit Charger........................................................................ 17
Chapter 5: Charging Indicator................................................................................18
Chapter 6: Troubleshooting................................................................................... 19
MN007877A01-AB
Contents
2
Disclaimer
The information in this document is carefully examined, and is believed to be entirely reliable.
However, no responsibility is assumed for inaccuracies.
Furthermore, Motorola Solutions reserves the right to change any products to improve readability,
function, or design. Motorola Solutions does not assume any liability arising out of the applications or
use of any product or circuit described herein; nor does it cover any license under its patent rights, nor
the rights of others.
MN007877A01-AB
Disclaimer
3
Intellectual Property and Regulatory
Notices
Copyrights
The Motorola Solutions products described in this document may include copyrighted Motorola
Solutions computer programs. Laws in the United States and other countries preserve for Motorola
Solutions certain exclusive rights for copyrighted computer programs. Accordingly, any copyrighted
Motorola Solutions computer programs contained in the Motorola Solutions products described in this
document may not be copied or reproduced in any manner without the express written permission of
Motorola Solutions.
No part of this document may be reproduced, transmitted, stored in a retrieval system, or translated
into any language or computer language, in any form or by any means, without the prior written
permission of Motorola Solutions, Inc.
Trademarks
MOTOROLA, MOTO, MOTOROLA SOLUTIONS, and the Stylized M Logo are trademarks or
registered trademarks of Motorola Trademark Holdings, LLC and are used under license. All other
trademarks are the property of their respective owners.
License Rights
The purchase of Motorola Solutions products shall not be deemed to grant either directly or by
implication, estoppel or otherwise, any license under the copyrights, patents or patent applications
of Motorola Solutions, except for the normal non-exclusive, royalty-free license to use that arises by
operation of law in the sale of a product.
Open Source Content
This product may contain Open Source software used under license. Refer to the product installation
media for full Open Source Legal Notices and Attribution content.
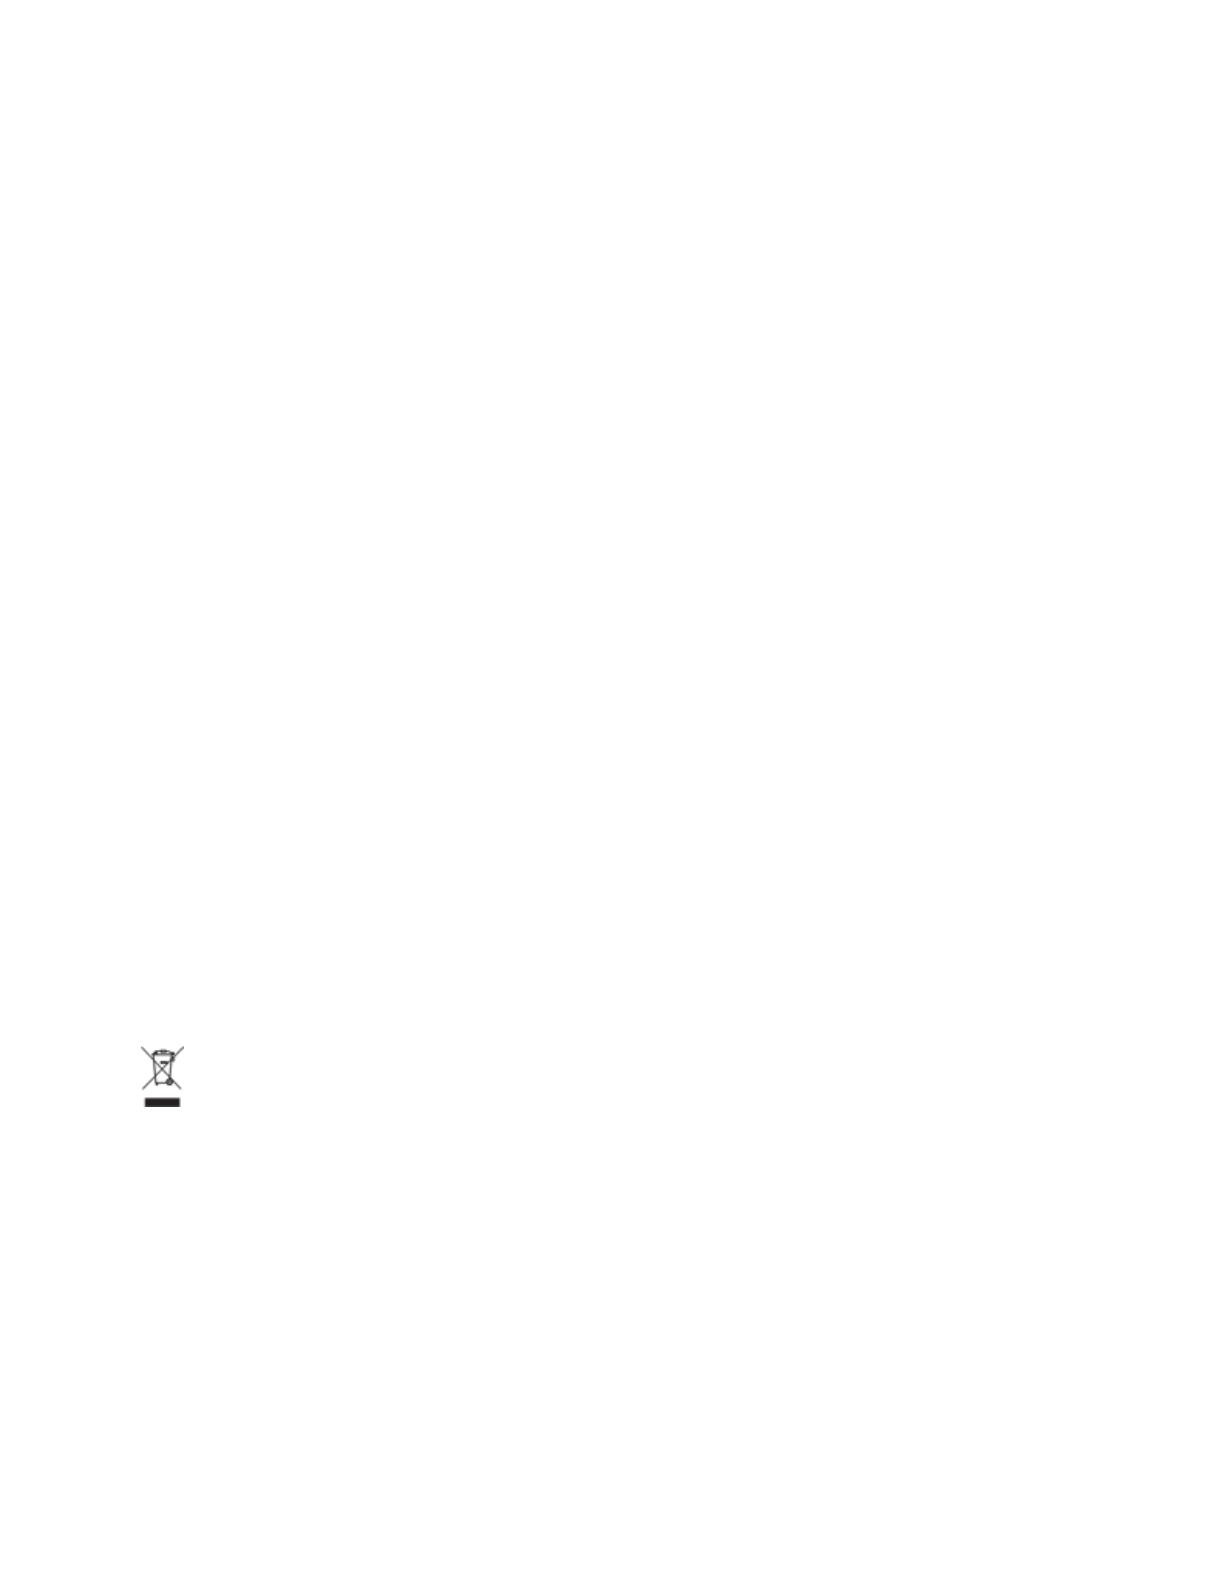
European Union (EU) Waste of Electrical and Electronic Equipment (WEEE)
Directive
The European Union's WEEE directive requires that products sold into EU countries must have
the crossed out trash bin label on the product (or the package in some cases).
As defined by the WEEE directive, this cross-out trash bin label means that customers and end-users
in EU countries should not dispose of electronic and electrical equipment or accessories in household
waste.
Customers or end-users in EU countries should contact their local equipment supplier representative or
service centre for information about the waste collection system in their country.
Disclaimer
Please note that certain features, facilities, and capabilities described in this document may not be
applicable to or licensed for use on a specific system, or may be dependent upon the characteristics of
a specific mobile subscriber unit or configuration of certain parameters. Please refer to your Motorola
Solutions contact for further information.
© 2021 Motorola Solutions, Inc. All Rights Reserved
MN007877A01-AB
Intellectual Property and Regulatory Notices
4
Class B Digital Device
NOTE: This equipment has been tested and found to comply with the limits for a Class B digital
device, pursuant to part 15 of the FCC Rules. These limits are designed to provide reasonable
protection against harmful interference in a residential installation. This equipment generates,
uses and can radiate radio frequency energy and, if not installed and used in accordance with
the instructions, may cause harmful interference to radio communications. However, there is
no guarantee that interference will not occur in a particular installation. If this equipment does
cause harmful interference to radio or television reception, which can be determined by turning
the equipment off and on, the user is encouraged to try to correct the interference by one or
more of the following measures:
Reorient or relocate the receiving antenna.
Increase the separation between the equipment and receiver.
Connect the equipment into an outlet on a circuit different from that to which the receiver is
connected.
Consult the dealer or an experienced radio/TV technician for help.
MN007877A01-AB
Class B Digital Device
5
Icon Conventions
The documentation set is designed to give the reader more visual clues. The following graphic icons
are used throughout the documentation set.
DANGER: The signal word DANGER with the associated safety icon implies information that, if
disregarded, will result in death or serious injury.
WARNING: The signal word WARNING with the associated safety icon implies information that,
if disregarded, could result in death or serious injury, or serious product damage.
CAUTION: The signal word CAUTION with the associated safety icon implies information that,
if disregarded, may result in minor or moderate injury, or serious product damage.
CAUTION: The signal word CAUTION may be used without the safety icon to state potential
damage or injury that is not related to the product.
IMPORTANT: IMPORTANT statements contain information that is crucial to the discussion
at hand, but is not CAUTION or WARNING. There is no warning level associated with the
IMPORTANT statement.
NOTE: NOTICE contains information more important than the surrounding text, such as
exceptions or preconditions. They also refer the reader elsewhere for additional information,
remind the reader how to complete an action (when it is not part of the current procedure,
for instance), or tell the reader where something is on the screen. There is no warning level
associated with a notice.
MN007877A01-AB
Icon Conventions
6
Important Safety Instructions
This document contains important safety and operating instructions. Please read these instructions
carefully and save them for future reference.
Before using the battery charger, read all the instructions and cautionary markings on the charger, the
battery, and the radio using the battery.
WARNING:
Turn off the radio when charging the battery.
To reduce the risk of damage to the power cord, pull the plug rather than the cord when
disconnecting power cord from the AC outlet or the charger.
To reduce the risk of fire or electric shock, avoid using an extension cord. If an extension cord must
be used, ensure that the cord size is 18 AWG for lengths of up to 6.5 feet (2 m), and 16 AWG for
lengths up to 9.8 feet (3 m).
To reduce the risk of fire, electric shock, or injury, do not operate the charger if it is broken or
damaged in any way. Take it to a qualified Motorola Solutions service representative.
To reduce the risk of fire or electric shock, do not disassemble the charger. It is not repairable and
replacement parts are not available.
To reduce the risk of electric shock, unplug the charger power adapter from the AC outlet before
attempting any maintenance or cleaning.
To reduce the risk of injury, charge only the rechargeable authorized batteries. Other batteries may
explode, causing personal injury and damage.
To reduce the risk of fire, electric shock, or injury, only use the accessories recommended by
Motorola Solutions.
Changes or modifications made to this device, not expressly approved by Motorola Solutions, could
void the authority of the user to operate this equipment.
Ensure that the area behind the mounting surface is always free of electrical wires, cables, and
pipes before cutting, drilling, or installing the mounting screws.
Do not install the product where the weight cannot be supported. If the strength of the location
where the wall mount is installed is not strong enough, it can fall off and cause an injury.
Do not install on a structure that is prone to vibration, movement, or chance of impact.
MN007877A01-AB
Important Safety Instructions
7
Operational Safety Guidelines
This equipment is not suitable for outdoor use. Use only in dry locations and condition.
Maximum ambient temperature around the charger must not exceed 40 °C (104 °F).
Connect the charger only to an appropriate power cord listed in Motorola Solutions Authorized
Power Cord List.
The AC outlet to which the power cord is connected should be close and easily accessible.
Make sure the power cord is located where it will not be stepped on, tripped over, or subjected to
water, damage, or stress.
Connect the power cord only to an appropriately fused and wired AC outlet with the correct voltage,
as specified on the product.
MN007877A01-AB
Operational Safety Guidelines
8
Warranty
The Charger Kit for North America is covered under the Motorola Solutions one year limited warranty.
If your charger is defective, please contact your Motorola Solutions Partner where the unit was
purchased. Order a Replacement Charging Kit if necessary.
For product-related questions, contact: 1-800-448-6686 (US & Canada)
For more information, contact Motorola Authorized Dealer or visit us at www.motorolasolutions.com.
MN007877A01-AB
Warranty
9
Chapter 1
Product Overview
Single Unit Charger (SUC)
Multi-Unit Charger (MUC)
MN007877A01-AB
Chapter 1 : Product Overview
10
Chapter 2
Authorized Accessories
This section list Motorola Solutions Authorized Accessories that can be used with your charger.
Battery
Table 1: Motorola Solutions Authorized Battery
Kit Number Description
HKNN4013_ 1800 mAH Battery 4.2 V BT90
PMNN4578_ HiCap 2500 mAH Battery 4.35 V BT110
Unit Charger and Power Supplies
Table 2: Motorola Solutions Authorized Unit Charger and Power Supplies
Kit Number Description Power Supplies
PMPN4586_ Curve Single-Unit Charger (SUC) Tray None
PMPN4587_ Curve SUC Tray EXT 3 W PS 100–240
VAC US/NA
PS000228A011
PMPN4603_ Curve SUC Tray EXT 5 W PS 100–240
VAC US/NA
PS000227A111
Multi-Unit Charger and Power Cord
Table 3: Motorola Solutions Authorized Multi-Unit Charger and Power Cord
Kit Number Description Power Cord
PMPN4588_ Curve Multi-Unit Charger (MUC) 6-pocket
Tray
None
PMPN4589_ Curve Multi-Unit Charger (MUC) 6-pocket
Tray with Power Cord US/NA
3004209T04
1UL certification only when charger kits shipped with the power supply listed above.
MN007877A01-AB
Authorized Accessories
11
Chapter 3
Curve SUC Operating Instructions
The Single-Unit Charger (SUC) kit is able to charge the following batteries:
1Curve Series radio with battery or radio with battery and holster.
2Standalone batteries as listed in Authorized Accessories on page 11
NOTE: Batteries charge best at room temperature.
3.1
Charging Procedure
Procedure:
1Place the Curve Single-Unit Charger (SUC) Tray on a flat surface.
2Insert the connector of the power supply into the port on the side of the drop-in tray charger.
3Plug the wall receptacle end of the power supply cord into appropriate AC outlet.
4Insert the radio into the tray with the front of the radio facing the front of the charger.
NOTE: Ensure that the radio is turned off before charging. The radio turns off by default
when placed in the SUC.
Figure 1: Insert the Radio to the Charger Pocket
1
1 Curve SUC Tray
MN007877A01-AB
Chapter 3 : Curve SUC Operating Instructions
12
3.2
Charging a Stand-Alone Battery
Procedure:
1Align the raised tab on each side of the battery with the corresponding groove on each side of
the charger pocket.
2Press the battery toward the rear of the pocket.
3Slide the battery into the charger pocket, ensuring complete contact between the charger and
battery contacts.
Figure 2: Insert the Battery to the Charger Pocket
2
1
When the battery is properly seated in the pocket, the charger indicates the battery level status.
See Charging Indicator on page 18.
MN007877A01-AB
Chapter 3 : Curve SUC Operating Instructions
13
Chapter 4
Curve 6-Pocket MUC Kit Operating
Instructions
The charger pockets 1–6 accommodates either a radio with battery attached or stand-alone battery.
The Multi-Unit Charger (MUC) kit is able to charge the following batteries:
1Curve Series radios with batteries or radios with batteries and holsters.
2Stand-alone batteries as listed in Authorized Accessories on page 11.
NOTE: Batteries charge best at room temperature.
4.1
Charging Procedure for Multi-Unit Charger
When and where to use:The Multi-Unit Charger (MUC) allows drop-in charging of up to six Curve
Series radios or batteries. Batteries can charge inside the radios or removed and place in the MUC
separately. Each of the six charging pockets on the MUC can hold a radio or battery. Batteries are
charged in 3 to 6 hours.
Procedure:
1Plug the charger end of the power supply cord into the power receptacle located at the bottom of
the charger.
2Plug the wall receptacle end of the power supply cord into appropriate AC outlet.
A successful power-up sequence in indicated by a single flash green.
3Perform the following actions:
Options Actions
Charging a radio with the battery aTurn off the radio.
bSlide the radio into the charger pocket.
cAlign the groove on each side of the
radio with corresponding raised rail on
each side of the charger pocket.
dEnsure complete contact between the
charger and radio contacts.
Charging a standalone battery aInsert the battery in to the charger pock-
et.
bAlign the raised tab on each side of the
battery with the corresponding groove on
each of the charger pocket.
cPress the battery towards the rear of the
pocket.
MN007877A01-AB
Chapter 4 : Curve 6-Pocket MUC Kit Operating Instructions
14
Options Actions
dSlide the battery into the charger pocket.
eEnsure complete contact between the
charger and radio contacts.
The charger indicator lights up to indicate the Battery Level status. See Table 4: Charger LED
Indicator on page 18.
4To remove a radio or stand alone battery from the charger, use both hands to remove a radio or
battery from the charger pocket. One hand to hold and support the charger while the other hand
removes the radio or battery.
1
2
5
3
4
1 Power Receptacle
2 Charging Pocket
3 Charging Indicator
4 Battery Contacts
5 Radio Contacts
MN007877A01-AB
Chapter 4 : Curve 6-Pocket MUC Kit Operating Instructions
15
4.2
Cloning Radio Settings
The Curve 6-Pocket Multi-Unit Charger (MUC) Tray allows you to clone up two radios at a time (two
sources and two target radios) by using pocket 1-2 and 4-5.
For further details on cloning procedure, refer to the Curve Series radio manual.
Figure 3: Cloning Radio Settings
1
2
3
4
5
1 Pocket 1
2 Pocket 2
3 CLONE symbol
4 Pocket 4
5 Pocket 5
MN007877A01-AB
Chapter 4 : Curve 6-Pocket MUC Kit Operating Instructions
16
4.3
Mounting Curve 6-Pocket Multi-Unit Charger
Use the appropriate mounting hardware to mount the Multi-Unit Charger (MUC) to the wall. The
mounting hardware must be suitable for the type of wall material fixture it is being mounted to.
2
1
1 MUC mounting area
2 Flat head screw
NOTE: It is recommended to use 6 X 1 inch flat head tapping screw on wood stud and solid-flat
concrete or brick wall.
MN007877A01-AB
Chapter 4 : Curve 6-Pocket MUC Kit Operating Instructions
17
Chapter 5
Charging Indicator
Table 4: Charger LED Indicator
Charger Indicator LED Status Description
Green for approximately one second Power On
Solid red Charging
Solid green Charged
Rapid-blinking red Error
Blinking amber Standby
Blinking red Battery Level Status: Low
Double-blinking amber Battery Level Status: Medi-
um
Triple-blinking green Battery Level Status: High
MN007877A01-AB
Chapter 5 : Charging Indicator
18
Chapter 6
Troubleshooting
When and where to use:When troubleshooting, always observe the color of the LED.
Procedure:
1If there is no LED indication, check that the radio or stand-alone battery is inserted correctly.
2Ensure the power supply is plugged into an appropriate AC outlet.2
3Ensure the USB connector of the power supply is plugged securely into the charger socket.2
4Ensure the power cord is plugged securely into the charger socket with an appropriate AC outlet
and there is power to the outlet.3
5Confirm that the battery used with the radio is Motorola Solutions authorized batteries listed in
Authorized Accessories on page 11.
2For Curve Single-Unit Charger (SUC) Tray only.
3For Curve 6-Pocket Multi-Unit Charger (MUC) Tray only.
MN007877A01-AB
Troubleshooting
19
Manuel d'utilisation du
chargeur de la série
Curve
*MN007877A01*
MN007877A01-AB
SEPTEMBRE 2021
© 2021 Motorola Solutions, Inc. All rights reserved
  • Page 1 1
  • Page 2 2
  • Page 3 3
  • Page 4 4
  • Page 5 5
  • Page 6 6
  • Page 7 7
  • Page 8 8
  • Page 9 9
  • Page 10 10
  • Page 11 11
  • Page 12 12
  • Page 13 13
  • Page 14 14
  • Page 15 15
  • Page 16 16
  • Page 17 17
  • Page 18 18
  • Page 19 19
  • Page 20 20
  • Page 21 21
  • Page 22 22
  • Page 23 23
  • Page 24 24
  • Page 25 25
  • Page 26 26
  • Page 27 27
  • Page 28 28
  • Page 29 29
  • Page 30 30
  • Page 31 31
  • Page 32 32
  • Page 33 33
  • Page 34 34
  • Page 35 35
  • Page 36 36
  • Page 37 37
  • Page 38 38
  • Page 39 39
  • Page 40 40

Motorola PMPN4603 Manuel utilisateur

Taper
Manuel utilisateur

dans d''autres langues