EN
5
or other means to accelerate the
defrosting process, other than those
recommended by the manufacturer.
• This product is not intended to be
used by persons with physical, sensory
or mental disorders or unlearned
or inexperienced people (including
children) unless they are attended by
a person who will be responsible for
their safety or who will instruct them
accordingly for use of the product
• Do not operate a damaged refrigerator.
Consult with the service agent if you
have any concerns.
• Electrical safety of your refrigerator shall
be guaranteed only if the earth system
in your house complies with standards.
• Exposing the product to rain, snow, sun
and wind is dangerous with respect to
electrical safety.
• Contact authorized service when there
is a power cable damage to avoid
danger.
• Never plug the refrigerator into the wall
outlet during installation. Otherwise, risk
of death or serious injury may arise.
• This refrigerator is intended for only
storing food items. It must not be used
for any other purpose.
• Label of technical specifications is
located on the left wall inside the
refrigerator.
• Never connect your refrigerator to
electricity-saving systems; they may
damage the refrigerator.
• If there is a blue light on the refrigerator,
do not look at the blue light with optical
tools.
• For manually controlled refrigerators,
wait for at least 5 minutes to start the
refrigerator after power failure.
• This operation manual should be
handed in to the new owner of the
product when it is given to others.
• Avoid causing damage on power cable
when transporting the refrigerator.
Bending cable may cause fire. Never
place heavy objects on power cable.
Do not touch the plug with wet hands
when plugging the product.
• Do not plug the refrigerator if the wall
outlet is loose.
• Water should not be sprayed directly on
inner or outer parts of the product for
safety purposes.
• Do not spray substances containing
inflammable gases such as propane
gas near the refrigerator to avoid fire
and explosion risk.
• Never place containers filled with water
on top of the refrigerator, otherwise this
may cause electric shock or fire.
• Do not overload your refrigerator
with excessive amounts of food. If
overloaded, the food items may fall
down and hurt you and damage
refrigerator when you open the door.
Never place objects on top of the
refrigerator; otherwise, these objects
may fall down when you open or close
the refrigerator's door.
• As they require a precise temperature,
vaccines, heat-sensitive medicine and
scientific materials and etc. should not
be kept in the refrigerator.
• If not to be used for a long time,
refrigerator should be unplugged. A
possible problem in power cable may
cause fire.
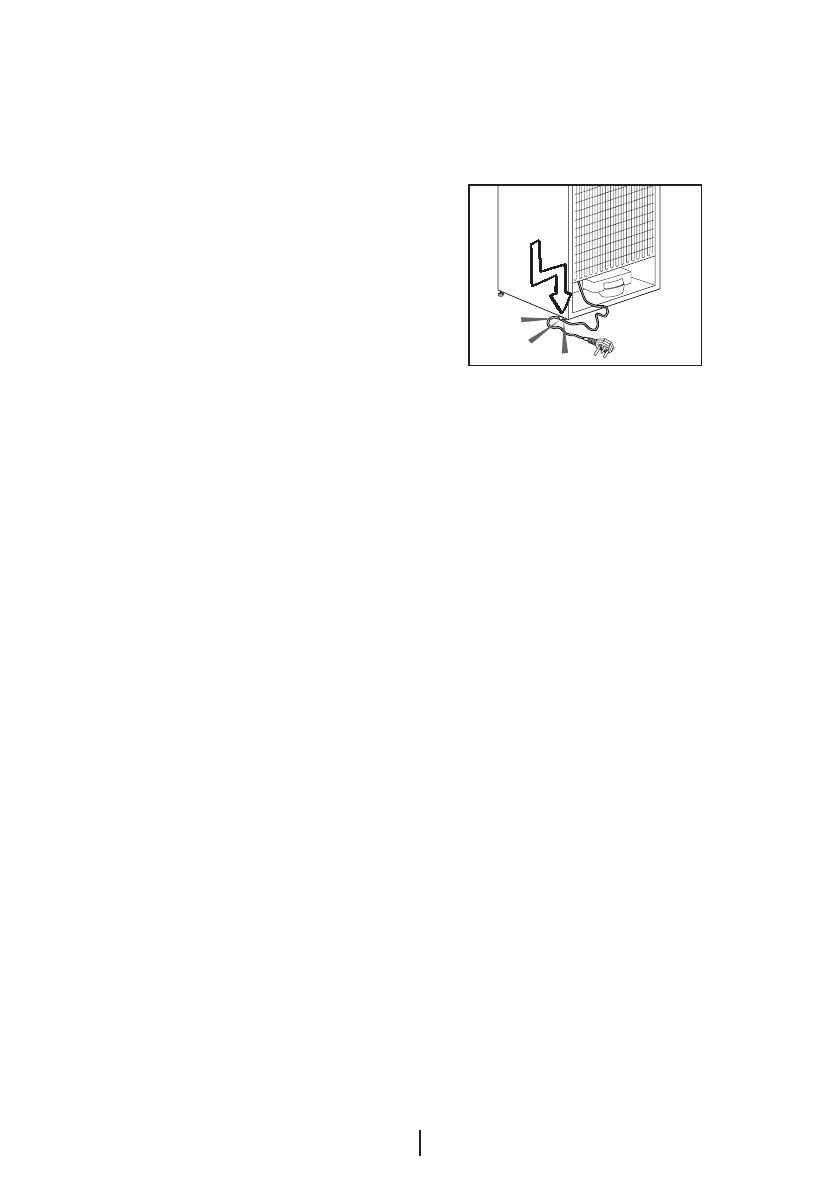
• The plug's tip should be regularly
cleaned; otherwise, it may cause fire.
• The plug’s tip should be cleaned


