http://www.tandbergdata.com
©2019 Overland-Tandberg
10400875 RMN-A-01-16
Assign a Static IP Address
If DHCP support is not enabled, set a static IP address for the unit:
CAUTION: Make sure the file name network.conf is all
lowercase letters.
1. Create a network.conf file on a USB stick with these entries:
BOND0_IP4_CONFIG=static
BOND0_IP4_ADDR=nnn.nnn.nnn.nnn
BOND0_IP4_GW=nnn.nnn.nnn.nnn
BOND0_IP4_PREFIX=nn
Insert your IP address, gateway, and prefix as required.
For example:
BOND0_IP4_CONFIG=static
BOND0_IP4_ADDR=192.168.10.111
BOND0_IP4_GW=192.168.10.1
BOND0_IP4_PREFIX=24
2. Insert the stick in the USB port on the front of the unit and wait at
least two minutes for the network.conf file to update.
3. Remove the USB stick from the front port.
The unit will restart with the updated network settings.
NOTE: If the unit does not reboot automatically, recheck network.conf
filename to ensure it is all lowercase letters.
You may need to use a Linux or MacOS host system to check a filename as
Windows OS can change the filename to uppercase but cannot display it.
The Remote Management Console should now be available at the
static IP address selected. For more information on how to configure
IP addresses, refer to the RDX QuikStation 4 & 8 Product Manual.
Connect to Remote Management Console
Use a web browser to connect to the RDX QuikStation 8 Remote
Management Console (RMC) from any computer on the same network as
the QuikStation 8. Supported operating systems include Microsoft
Windows, Linux, and Apple MacOS.
To connect to the RMC:
1. Obtain the unit’s IP address.
2. On a network host, type the RDX QuikStation IP address in a web
browser’s URL field (http://<RDX_QuikStation_IP_Address>).
3. Sign in to the Console.
The default user name/password is “Admin/Admin!”.
NOTE: Passwords are case-sensitive.
Step 5
Configure the RDX QuikStation 8
You can configure your RDX QuikStation 8 as RDX Disks (default) or
RDX Logical Volume (see the RDX QuikStation 4 & 8 Product Manual).
1. Using the RMC, select the device type from the dialog window.
2. Click
OK
.
The system restarts. When done, your selected device configuration
is shown.
NOTE: If you have any RDX cartridges loaded into the RDX QuikStation, the
system will eject the cartridges when it restarts.
Step 6
Connect to iSCSI Targets
In iSCSI terminology, a host computer is referred to as an initiator and
the storage device it connects to as the target.
NOTE: The RDX QuikStation and the host computers must reside on the same
network.
To establish an iSCSI connection in Windows Server:
1. Open the Microsoft iSCSI Initiator and click the
Discovery
tab.
2. Click
Discover Portal
to enter the IP address for the QuikStation 8.
3. Click
OK
.
4. Click the
Targets
tab.
5. Select the target you wish to connect to and click the
Connect
button.
For more information on how to connect to targets, refer to the RDX
QuikStation 4 & 8 Product Manual and your OS documentation.
Prepare for and Perform a Backup
1. If needed, install a backup application. Software compatibility
information is available at www.tandbergdata.com.
2. Launch and configure the backup application software to perform
a backup.
For questions regarding software installation, configuration, and
operation, refer to your backup software product documentation or
contact your software provider.
Step 7
For product information, support, and documentation, visit our website:
www.tandbergdata.com
Additional RDX Cartridges
To purchase RDX media cartridges, contact your Tandberg Data Partner
or go to
Products > RDX Solutions > RDX Media
on our website and
select the Where to Buy button.
Warranty and Technical Support
For warranty and technical support information, see our Support Tools
under the
Support
menu option.
For information on contacting Tandberg Data Support, see our Contact
Support web page under the
Contact
menu option.
User Guides and Articles
For detailed information on configuring your RDX QuikStation 8, refer
to the RDX QuikStation 4 and 8 Product Manual. The product manual,
this quick start guide, and other knowledge base articles are available
online at:
https://community.sphere3d.com/community/documentation/rdx
Product Information
Product name: RDX QuikStation 8
Model/Type Reference: RMN-A-01-16
Manufacturer: Tandberg Data
European Regulatory Address:
Tandberg Data GmbH, Feldstr. 81, 44141 Dortmund, Germany
Power Ratings
Safety Precautions
CAUTION: Be aware of the location of the power ON/OFF switch
on the front of the RDX QuikStation 8 chassis as well as the
room’s emergency power-off switch, disconnection switch, or
electrical outlet used. If an electrical accident occurs, you can
then quickly remove power from the system.
The rack version of the RDX QuikStation 8 is intended for use
when mounted in a standard rack. It may be used on a shelf or
table top as long as the area is free of clutter to ensure proper
ventilation.
The unit is intended for indoor use only. Use an appropriate
power supply cord with a grounded plug and a grounded
electrical outlet. The outlet must be near the equipment and
easily accessible.
FCC Compliance Notice
This equipment has been tested and found to comply
with the limits for a Class A digital device, pursuant to part
15 of the FCC Rules. These limits are designed to provide
reasonable protection against harmful interference when
the equipment is operated in a commercial environment.
This equipment generates, uses, and can radiate radio
frequency energy and, if not installed and used in accordance with the
instruction manual, may cause harmful interference to radio
communications. Operation of this equipment in a residential area is likely
to cause harmful interference in which case the user will be required to
correct the interference at his own expense.
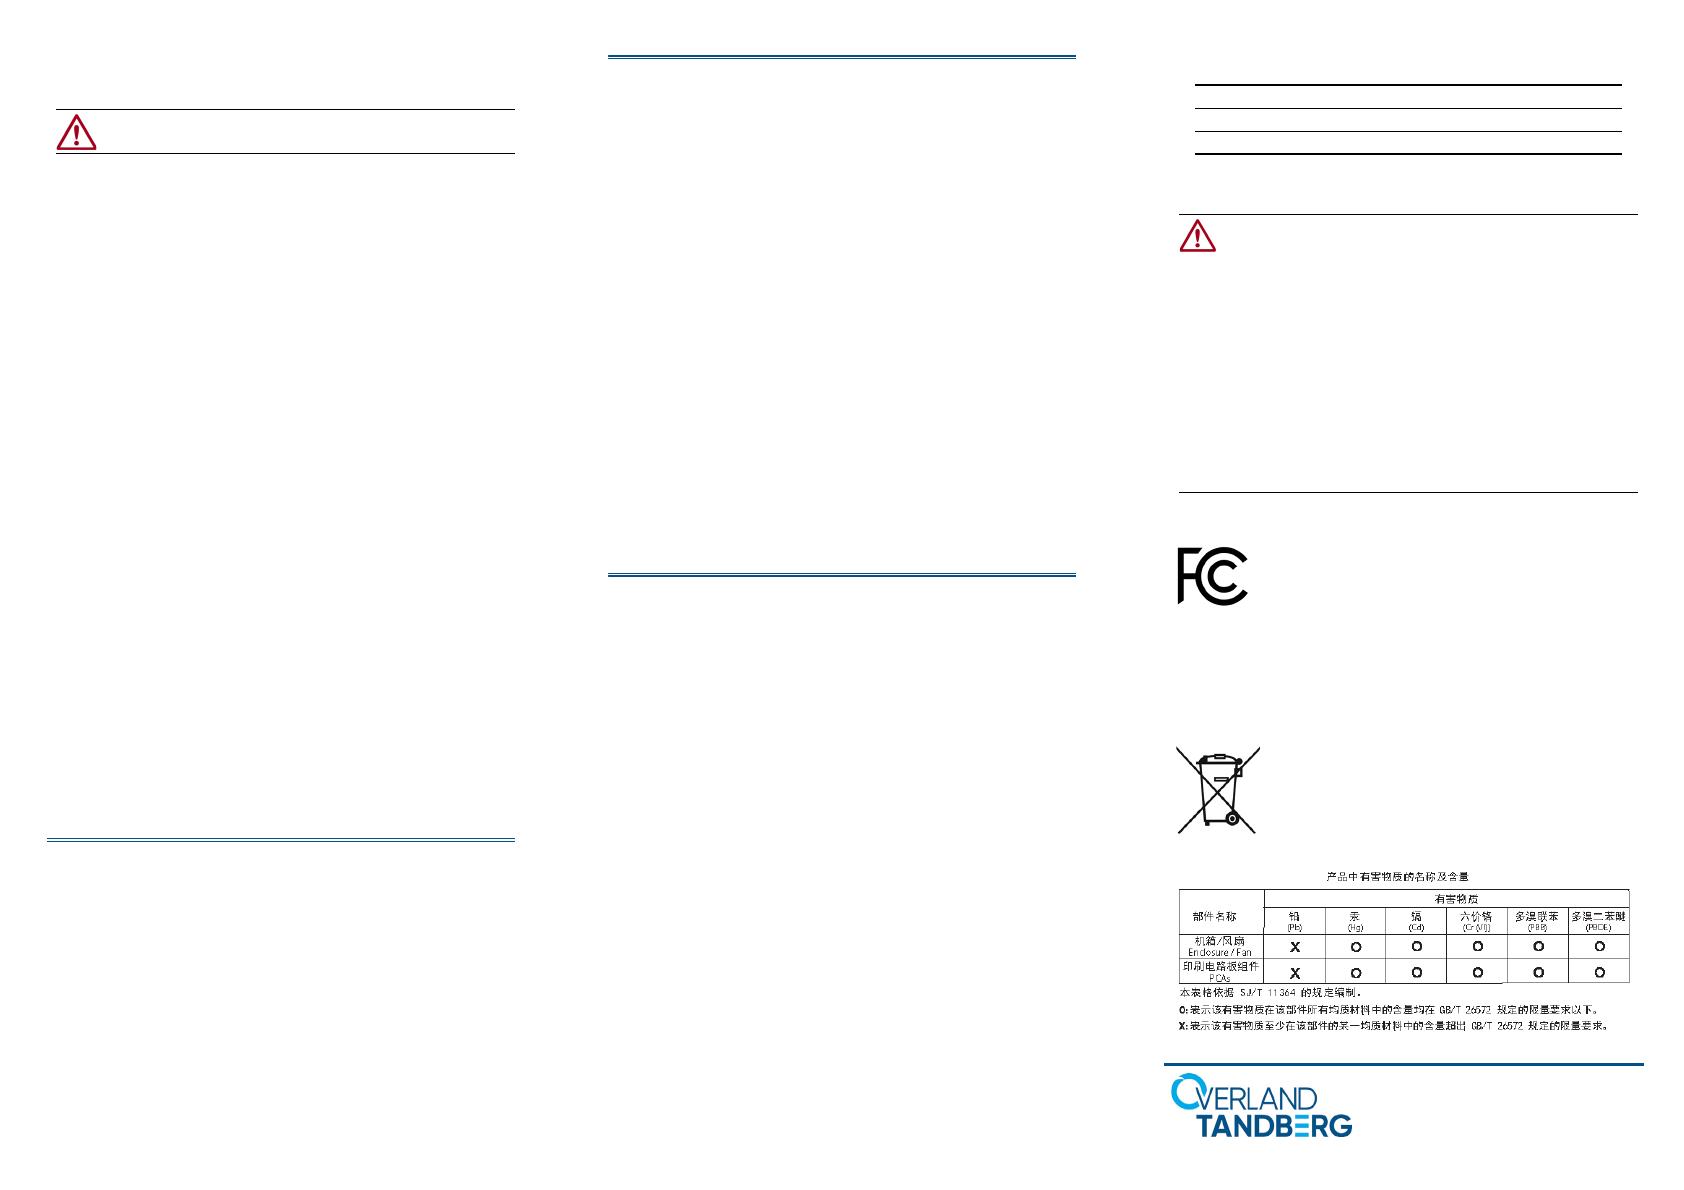
Environment Friendly Disposal
You can help protect the environment!
Please remember to respect the local regulations and
hand in the non-working electrical equipments to an
appropriate waste disposal center. The packaging
material is recyclable. Dispose of the packaging in an
environmentally friendly manner and make it available
for the recyclable material collection-service.
Input Voltage 100 - 240 VAC
Input Rated Current 2.0-1.0A
Rated Input Frequency 50-60 HZ