Emerson XCM25D Mode d'emploi

Taper
Mode d'emploi
XCM25D - Controller Replacement
XCM25D - Regleraustausch
XCM25D - Remplacement du Régulateur
Replacement Guidelines
CC7.8.4/0216-0618/EGF 1/4
Date of last update: Jun-18
Ref: CC7.8.4/0216-0618/EGF
Application Engineering Europe
XCM25D REPLACEMENT MANUAL
XCM25D REGLERAUSTAUSCH KURZANLEITUNG
XCM25D MANUEL DE REMPLACEMENT
1 Controller replacement
1 Regleraustausch
This manual describes the required
working steps to replace a XCM-25D in
case of controller damage on a ZX/CF
unit.
Diese Kurzanleitung beschreibt die
Arbeitsschritte zum Aus-tausch eines
XCM-25D bei Regler-Ausfall an einem
ZX/CF-Verflüssigungssatz.
The spare part kit contains 3 "Hot
Keys", one for each unit family
(ZXM*/CFM*, ZXL*/CFL* &
ZXD*/CFD*).
Choose correct "Hot Key" depending
on unit family, upload the parameters
from the "Hot Key" to the controller,
and adjust the values for electrical
protection according to following
instructions.
Dem Ersatzteilkit liegen 3 “Hot Keysbei,
einer für jede Familie (ZXM*/CFM*,
ZXL*/CFL* & ZXD*/CFD*).
Auswahl des richtigen “Hot Key” passend
zur Familie, Hochladen der Parameter
vom “Hot Key” auf den Regler, dann
Anpassung der Werte für die elektrische
Überwachung gemäß nachfolgender
Beschreibung.
Interrupt the power supply of the unit.
Disconnect the protection connectors
and connect them on the new controller
at the same terminals as before.
Disconnect all the wires at the upper
and lower parts of the controller.
Unterbrechen der Spannungs-
versorgung.
Entfernen der nicht verdrahteten
Flachsteckhülsen. Anbringen der Schutz-
Flachsteckhülsen an gleicher Stelle am
neuen Regler.
Entfernen aller Anschlussdrähte vom
alten Regler und Anschluss am neuen
Regler.
Open the cover of the cable guidance.
Cut the cable ties, disconnect the grey
and brown cables from the compressor
contactor.
Pull out the cables from the current
sensors of the controller.
Öffen der Kabelkanal-Deckel.
Kabelbinder aufschneiden, ent-fernen des
grauen & braunen Kabels vom
Verdichter-Last-schütz.
Herausziehen der beiden Adern aus den
Stromsensoren des Reglers.
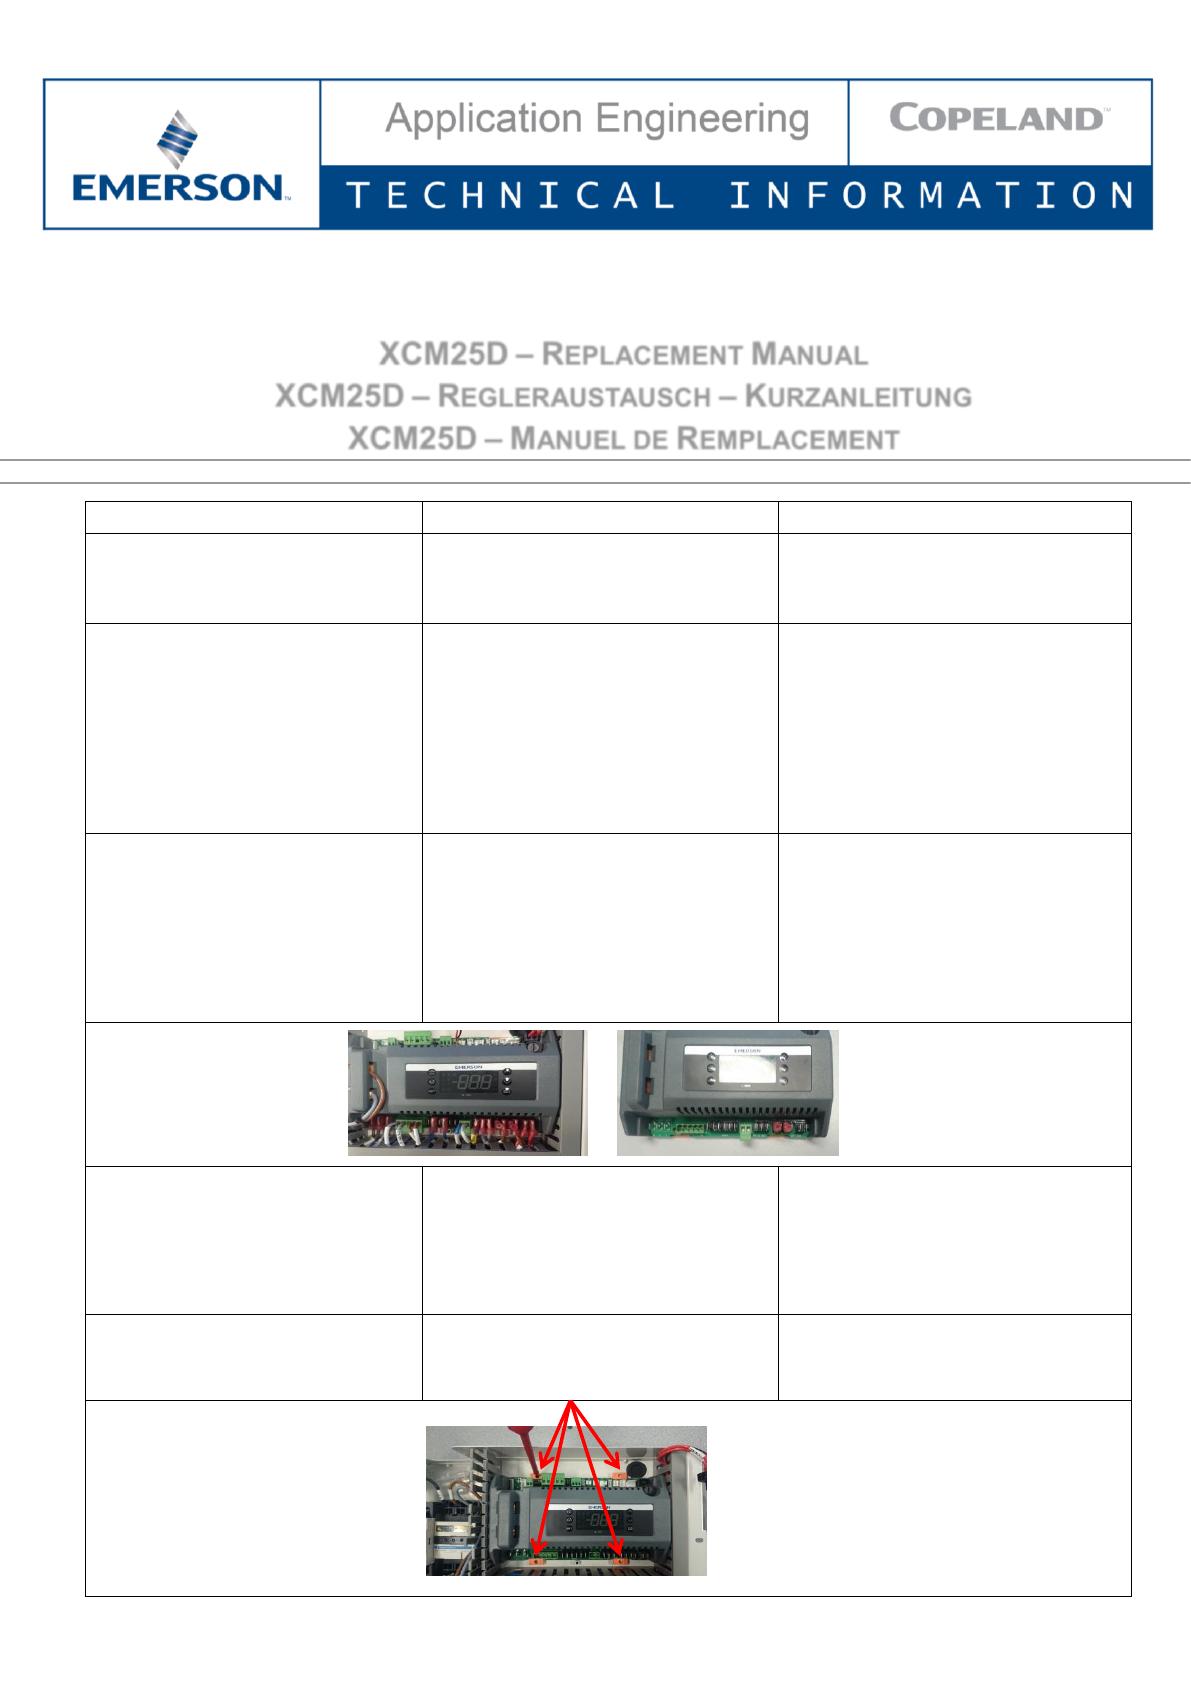
Unlock the 4 controller locks.
Remove the old controller and mount
the new controller in its place.
Entsichern der Regler-Halterungen.
Entfernen des defekten Reglers.
Einbau und Fixierung des neuen Reglers.
CC7.8.4/0216-0618/EGF 2/4
2 Parameter uploading
2 Parameter hochladen
Choose correct "Hot Key" depending on
unit family, then upload the parameters
from the "Hot Key" to the controller
Auswahl des richtigen “Hot Key” passend
zur Familie, Parameter hochladen vom
“Hot Key” auf den Regler.
Turn the controller off.
Regler ausschalten.
Insert a pre-programmed "Hot Key" into
the 5-pin receptacle and turn the
controller on.
Den vorparametrierten “Hot Key” in die 5-
PIN-Steckbuchse einstecken und den
Regler wieder einschalten
The parameter list of the "Hot Key" will
be automatically downloaded into the
controller memory. The "doL" message
will blink followed a by a flashing "End"
label.
Die Parameter-Liste des “Hot Key” wird
automatisch auf den Speicher des
XCM25D übertragen. Die Meldung doL
blinkt im Display gefolgt von der
blinkenden Mitteilung “End”.
After 10 seconds, the controller will
restart working with the new
parameters.
Nach 10 Sekunden startet das Gerät
erneut und arbeitet mit der neuen
Parametrierung.
Remove the "Hot Key".
Entfernen des “Hot Key”.
NOTE: The message "Err" is displayed
in case of a failed programming
operation. In this case turn the unit off,
then on again if you want to restart the
download, or remove the "Hot Key" to
abort the operation.
HINWEIS: Die Meldung “Err” erscheint,
wenn der Programmier-Vorgang nicht
erfolgreich war. In diesem Fall den Regler
aus- und wieder einschalten, um den
Vorgang neu zu starten. Andernfalls den
“Hot Key” herausziehen um die Aktion
abzubrechen.
CC7.8.4/0216-0618/EGF 3/4
3 Parameter setting
3 Parameter Einstellungen
In order to adjust a dedicated unit with
the proper settings, parameters have to
be modified.
Die Einstellungen müssen individuell
angepasst werden.
For units with the TFD motor version,
modify parameters H07 and H09.
For the required values refer to Tables
1, 2 and 3.
Für Verflüssigungssätze mit Motorversion
TFD die Parameter H07 & H09 ändern.
Die Werte sind den Tabellen 1,2 & 3 zu
entnehmen.
ZXME***-TFD & CFME***-TFD
Parameter/Paramètre
020
025
030
040
050
060
075
H07
7.0
9.1
8.5
10.5
13.5
16.1
17
H09
5.4
5.4
8.0
10.4
13.4
14.5
15.4
Table 1: ZXME & CFME > TFD (400V/3Ph/50Hz)
ZXLE***-TFD & CFLE***-TFD
Parameter/Paramètre
020
030
040
050
060
075
H07
7.9
7.8
12.1
14.0
16.0
19.3
H09
6.3
7.4
10.2
13.1
15.1
16.1
Table 2: ZXLE & CFLE > TFD (400V/3Ph/50Hz)
ZXDE***-TFD & CFDE****-TFD
Parameter/Paramètre
040
050
060
075
H07
10.1
13.9
12.9
16.3
H09
8.7
12.5
12.6
15.4
Table 3: ZXDE & CFDE > TFD (400V/3Ph/50Hz)
For units with the PFJ
(230V/1Ph/50Hz) motor version, modify
parameters H07, H09, H13, H14 and
H25.
For the required values refer to Tables
4 and 5.
Für Verflüssigungssätze mit PFJ Motor
(230V/1~/50Hz) die Parameter H07, H09,
H13, H14 und H25 ändern.
Die Werte sind den Tabellen 4 & 5 zu
entnehmen.
Version moteur PFJ (230V/1Ph/50Hz) :
régler les paramètres H07, H09, H13,
H14 et H25 selon les valeurs données
aux Tableaux 4 et 5.
ZXME***-PFJ & CFME***-PFJ
Parameter/Paramètre
020
025
030
040
H07
18.5
20.5
23.0
28.0
H09
14.1
13.7
18.1
25.9
H13
190
190
190
190
H14
260
260
260
260
H25
NO
NO
NO
NO
Table 4: ZXME & CFME > PFJ (230V/1Ph/50Hz)
ZXLE***-PFJ & CFLE***-PFJ
Parameter/Paramètre
020
025
030
H07
18.5
20.5
23.0
H09
15.0
17.2
19.6
H13
190
190
190
H14
260
260
260
H25
NO
NO
NO
Table 5: ZXLE & CFLE > PFJ (230V/1Ph/50Hz)
CC7.8.4/0216-0618/EGF 4/4
4 How to program the
parameters (Pr1 and Pr2)
4 Programmierung der
Parameter (Pr1 und Pr2)
4 Programmation des
paramètres (Pr1 et Pr2)
Access pre-program level
Press simultaneously for about 3
seconds to access the pre-
programming level. The message rtC
(real time clock) appears.
Zugriff Vor-Programmier-Ebene
Gleichzeitig für 3 Sekunden gedrückt
halten, um in die erste Programm-
Ebene zu gelangen. Die Mitteilung rtC
(Echtzeituhr) erscheint.
Accès pré-programmation
Appuyer simultanément pendant
environ 3 secondes pour accéder au
niveau de pré-programmation. Le
message rtC (horloge temps réel)
s’affiche.
Access program level
Press the Up or Down key until the
message PAR appears.
Zugriff Programmier-Ebene
Drücken der Pfeiltasten, bis Mitteilung
PAR erscheint.
Accès programmation
Appuyer sur l’une de ces 2 touches
jusqu’à ce que le message PAR
s’affiche.
Access Pr1
Press the SET button to enter the
program level. First parameter C01
appears.
Zugriff Pr1
Drücken der SET Taste, um in Ebene
Pr1 zu gelangen. Erster Parameter C01
erscheint.
Accès à Pr1
Appuyer sur SET pour accéder au
mode programmation. Le premier
paramètre C01 s’affiche.
Access Pr2
Go to t18 label using the arrows. Press
the SET button. The blinking PAS label
will be displayed; wait for a few
seconds.
The display will show "0 - -" with
blinking 0. Insert the password [321]
using the and keys and
confirm every digit with the key.
Zugriff Pr2
Mit Pfeiltasten Label t18 suchen.
Drücken der SET Taste. PAS blinkt.
Einige Sekunden warten: Display zeigt
"0 - -" mit blinkender 0. Eingabe des
Passworts [321] über Pfeiltasten
und , jede Eingabe mit
bestätigen.
Accès à Pr2
Appuyer sur jusqu’à ce que T18
s’affiche, puis appuyer sur la touche
SET.
PAS clignote : attendre quelques
secondes.
« 0 - - » clignote : taper le mot de passe
[321] au moyen des touches et
et confirmer chaque chiffre avec la
touche SET.
Select item
Select the parameter or submenu using
the arrows.
Auswahl Parameter
Auswahl der gewünschten Parameter &
Untermenüs über die Pfeiltasten.
Choisir le paramètre
Sélectionner un paramètre ou un sous-
menu en utilisant les flèches.
Show value
Press the SET button.
Wert anzeigen
Drücken der SET Taste.
Afficher la valeur
Appuyer sur SET.
Modify
Use the arrows to modify the value.
Modifizieren
Nutzen der Pfeiltasten zum ändern von
Werten.
Modifier
Utiliser les flèches pour modifier la
valeur.
Confirm and store
Press the SET button: the value will
blink for 3 seconds, then the display will
show the next parameter.
Bestätigen & Speichern
Drücken der SET Taste: Der Wert blinkt
für 3 Sekunden, dann wird nächster
Parameter angezeigt.
Confirmer et enregistrer
Appuyer sur SET : la valeur clignote
pendant 3 secondes, ensuite l’écran
affichera le paramètre suivant.
EXIT
Press simultaneously to exit the
programming mode, or wait for 30
seconds (MTO) without pressing any
key.
EXIT
Gleichzeitiges Drücken um den
Programmier-Modus zu verlassen, oder
30 Sekunden (MTO) warten ohne eine
Taste zu drücken.
SORTIE
Appuyer simultanément pour quitter le
mode programmation, ou attendre 30
secondes (MTO) sans appuyer sur
aucune touche.
Table 6: Programming Programmierung Programmation
For more details, see www.climate.emerson.com
CC7.8.4/0216-0618/E GF
Connect with us: facebook.com/EmersonClimateEurope
The Emerson logo is a trademark and service mark of Emerson Electric Co. Emerson Climate Technologies Inc. is a subsidiary of Emerson Electric Co.
Copeland is a registered trademark and Copeland Scroll is a trademark of Emerson Climate Technologies Inc.. All other trademarks are property of their respective owners.
Emerson Climate Technologies GmbH shall not be liable for errors in the stated capacities, dimensions, etc., as well as typographic errors. Products, specifications, designs
and technical data contained in this document are subject to modification by us without prior notice. Illustrations are not binding.
© 2017 Emerson Climate Technologies, Inc.
BENELUX
Josephinastraat 19
NL-6462 EL Kerkrade
Tel. +31 45 535 06 73
Fax +31 45 535 06 71
UK & IRELAND
Unit 17, Theale Lakes Business Park
Reading, Berkshire RG7 4GB
Tel. +44 1189 83 80 00
Fax +44 1189 83 80 01
BALKAN
Selska cesta 93
HR-10 000 Zagreb
Tel. +385 1 560 38 75
Fax +385 1 560 38 79
balkan.s ales@emerson.com
GERMANY, AUSTRIA & SWITZERLAND
Senefelder Str. 3
DE-63477 Maintal
Tel. +49 6109 605 90
Fax +49 6109 60 59 40
SWEDEN, DENMARK, NORWAY & FINLAND
Pascalstr. 65
DE-52076 Aachen
Tel. +49 2408 929 0
Fax +49 2408 929 525
FRANCE, GREECE & MAGHREB
8, Allée du Moulin Berger
FR-69134 Ecully Cédex, Technoparc - CS 90220
Tel. +33 4 78 66 85 70
Fax +33 4 78 66 85 71
mediterranean.sales@emerson.com
EASTERN EUROPE & TURKEY
Pascalstr. 65
DE-52076 Aachen
Tel. +49 2408 929 0
Fax +49 2408 929 525
easterneurope.sales@emerson.com
ROMANIA
Tel. +40 374 13 23 50
Fax +40 374 13 28 11
Adela.Botis@Emerson.com
ITALY
Via Ramazzotti, 26
IT-21047 Saronno (VA)
Tel. +39 02 96 17 81
Fax +39 02 96 17 88 88
POLAND
Szturmowa 2
PL-02678 Warsaw
Tel. +48 22 458 92 05
Fax +48 22 458 92 55
MIDDLE EAST & AFRICA
PO Box 26382
Jebel Ali Free Zone - South, Dubai - UAE
Tel. +971 4 811 81 00
Fax +971 4 886 54 65
mea.s ales@emerson.com
ASIA PACIFIC
Suite 2503-8, 25/F., Exchange Tower
33 Wang Chiu Road, Kowloon Bay
Kowloon , Hong Kong
Tel. +852 2866 3108
Fax +852 2520 6227
CZECH REPUB LIC
Hajkova 22
CZ - 133 00 Prague
Tel. +420 271 035 628
Fax +420 271 035 655
Pavel.Sudek@emerson.com
SPAIN & PORTUGAL
C/ Pujades, 51-55 Box 53
ES-08005 Barcelona
Tel. +34 93 412 37 52
Fax +34 93 412 42 15
RUSSIA & CIS
Dubininskaya 53, bld. 5
RU-115054, Moscow
Tel. +7 - 495 - 995 95 59
Fax +7 - 495 - 424 88 50
Emerson Commercial & Residential Solutions
Emerson Climate Technologies GmbH - Pascalstrasse 65 - 52076 Aachen, Germany
Tel. +49 (0) 2408 929 0 - Fax: +49 (0) 2408 929 570 - Internet: www.climate.emerson.com
  • Page 1 1
  • Page 2 2
  • Page 3 3
  • Page 4 4
  • Page 5 5
  • Page 6 6

Emerson XCM25D Mode d'emploi

Taper
Mode d'emploi

dans d''autres langues